I’m Whitney, a former high school art teacher, art curriculum developer, & visual journal addict.
After many years in a high school art classroom, I decided to become my own boss. I now focus on designing art lessons, resources, & full curriculums for elementary, middle, high school art teachers, homeschool parents, & general art enthusiasts.
I am so glad to still be connected to the world of art education and I love seeing my resources “out in the wild” all over the globe. Keep scrolling to learn more!
Once Upon A….
High School Art Teacher
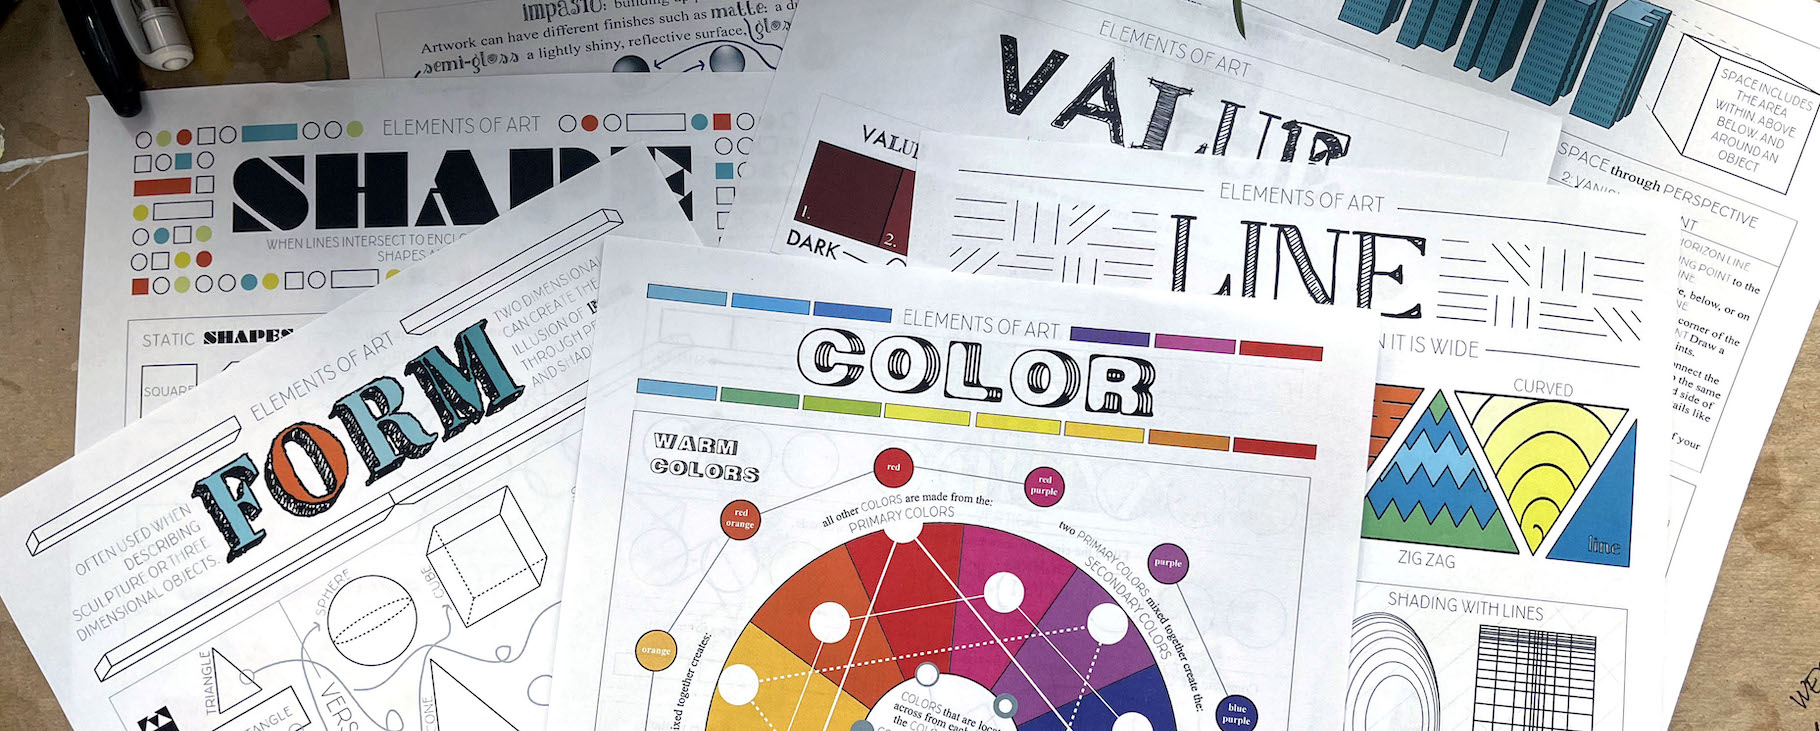
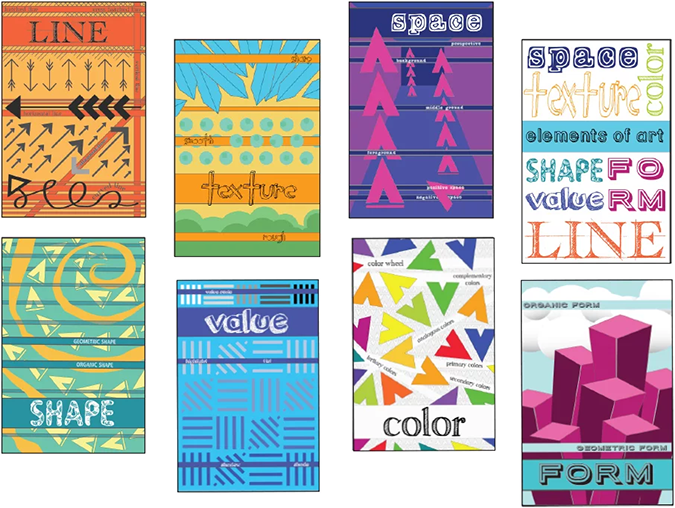
Get a free set of
8 elements of art posters
Subscribe to access your freebie and keep in touch:
Get periodic emails with freebies, art lesson ideas, technique tutorials, new product announcements, & more.
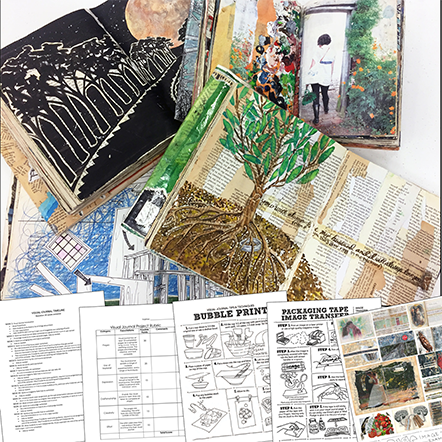
Junk Journal Course: Semester of Activities
Read
Read
Here’s what I’m thinking
Recent Posts
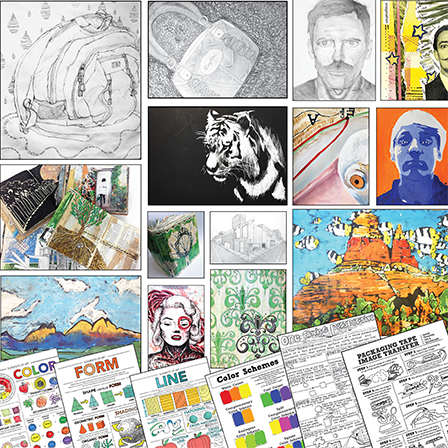
Check out art lesson ideas, art technique tutorials, a focus on visual journals, tips & tricks for the art classroom, elementary, middle, high school art, & more.

I began a design program at my school and love introducing students to design. Check out my favorite digital and graphic design projects to teac.
Read
Read
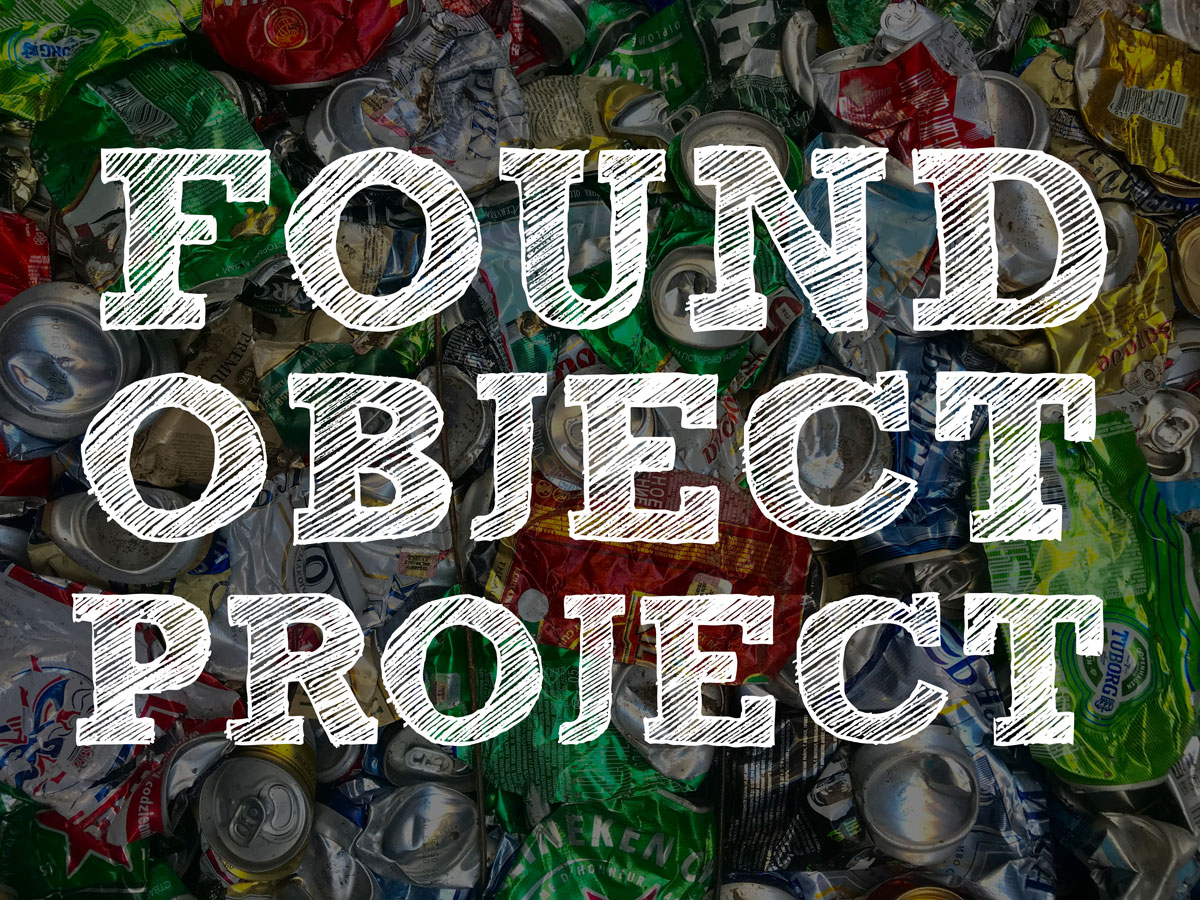
Check out one of my favorite projects for Earth Day, a found object assemblage project. Use as a class, small group, or individual project.
Read
Read
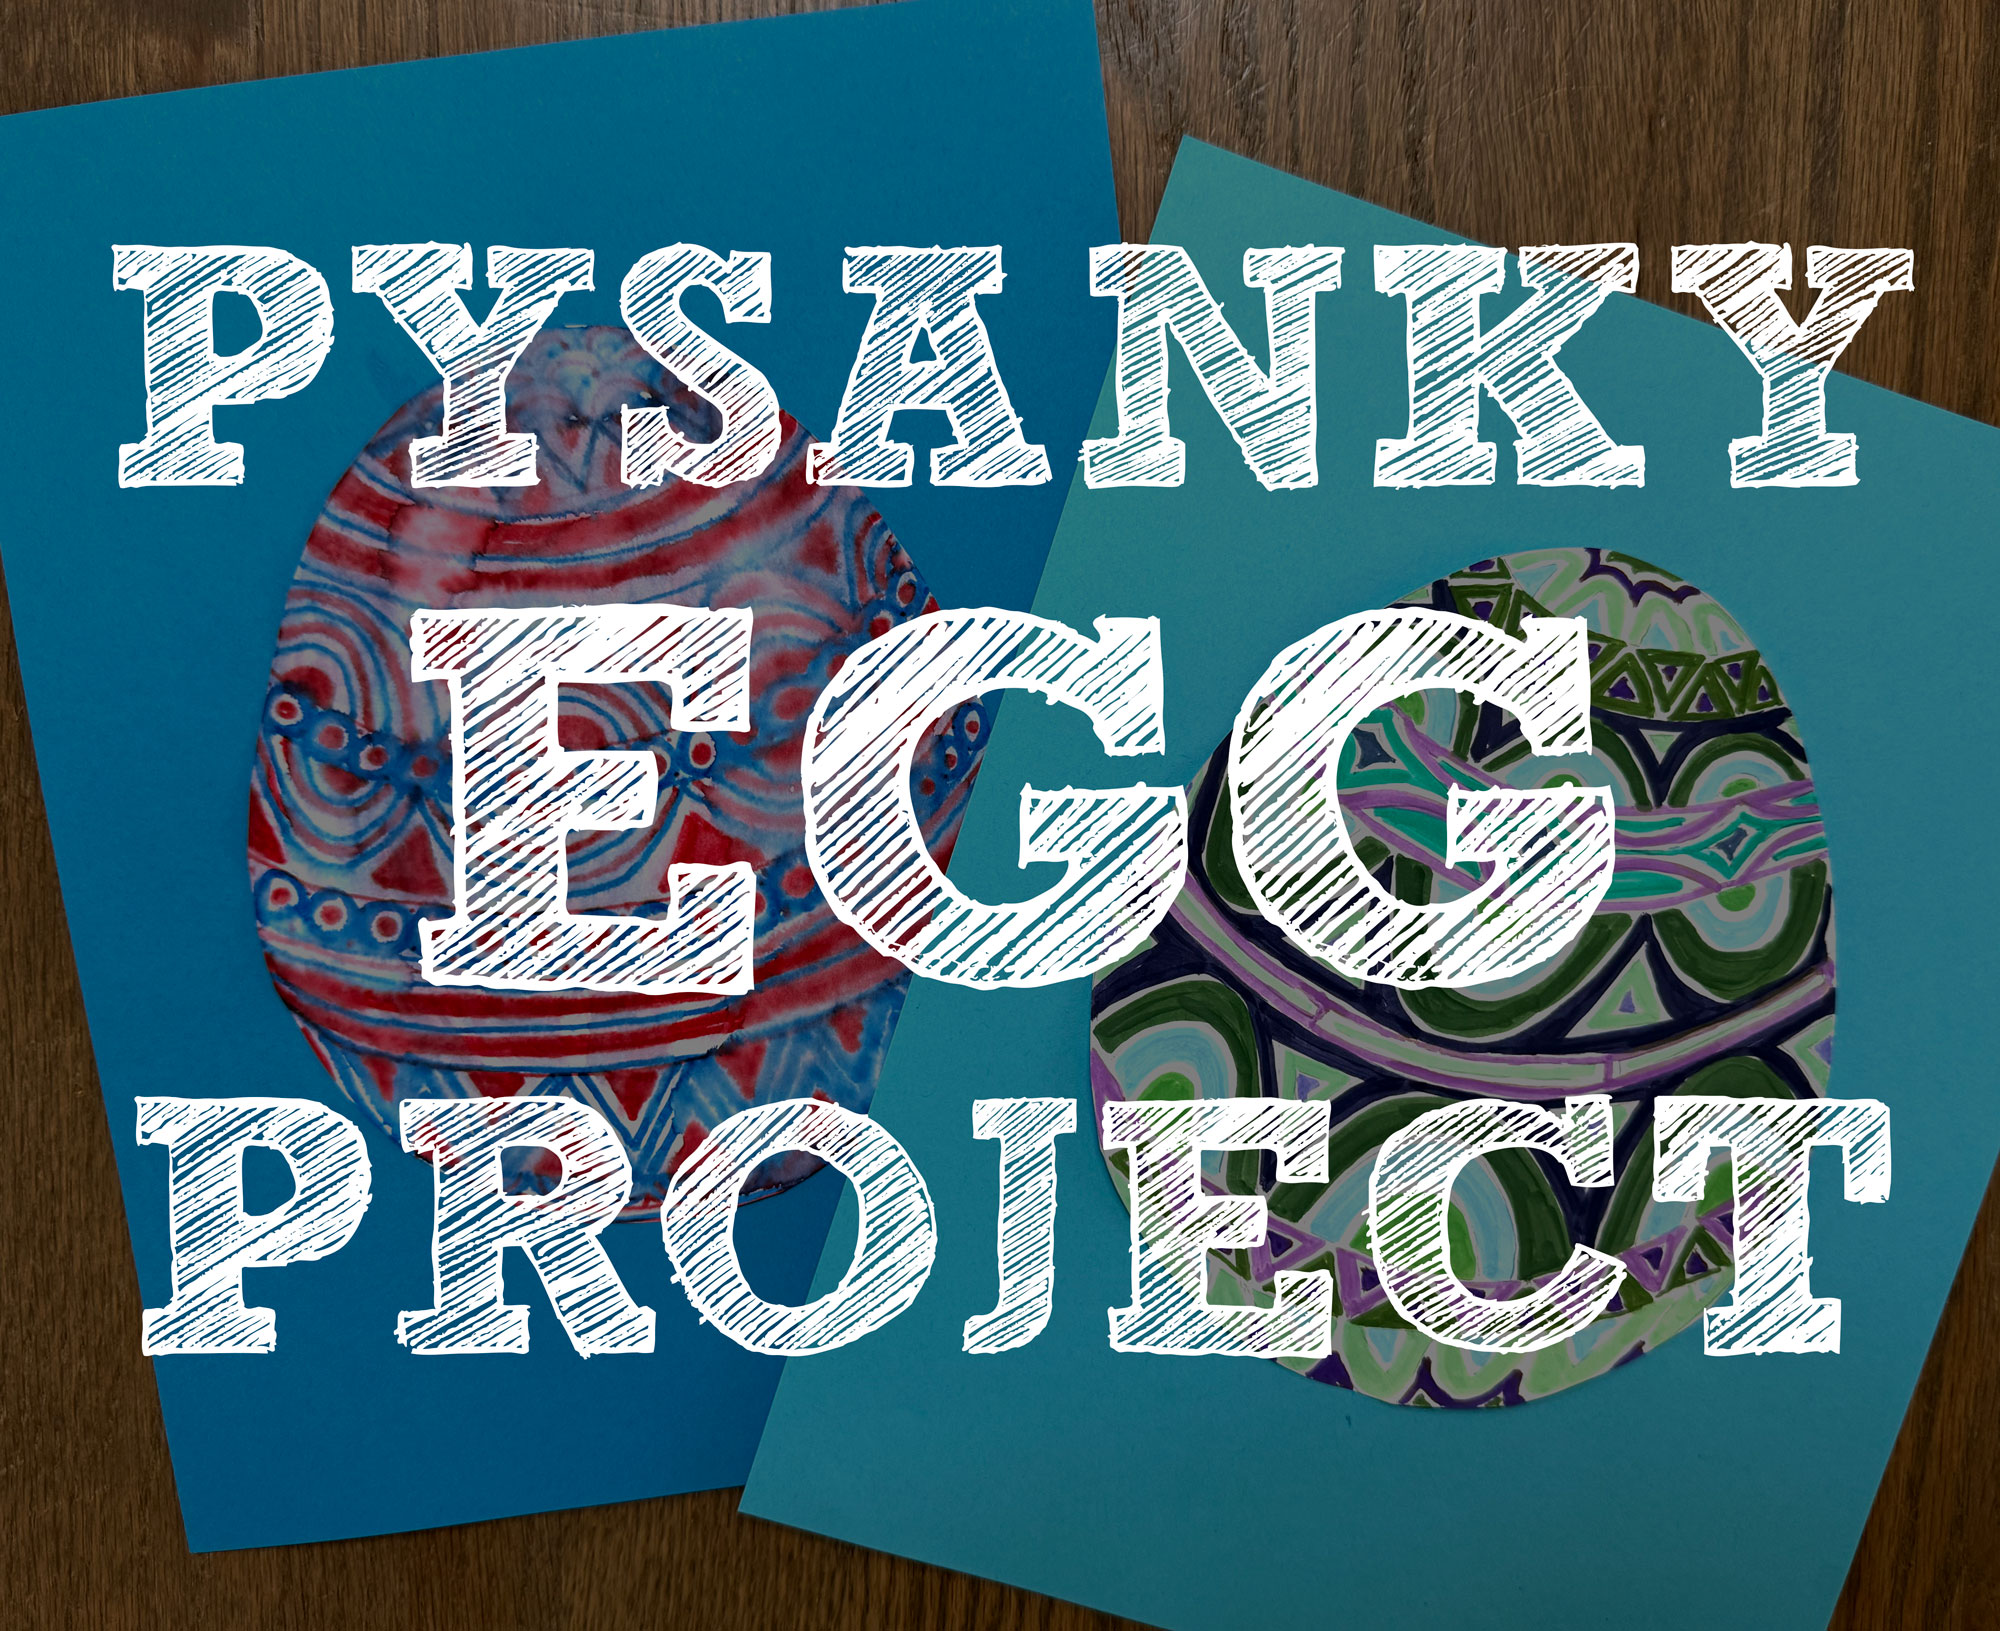
A Pysanky egg art project is the perfect way to celebrate the spring season or fill up the last day or days leading into spring break. Good for .
Read
Read
As the crisp mornings give way to the warmth of spring, it’s time to shift gears and bring bright colors, florals, bugs, and Mother’.
Read
Read
Give us a follow


What customers are saying…
Comments
Purchase art lesson plans, worksheets, posters, full semester or year-long curriculums & more for elementary, middle, & high school art. Check out my shop here.
“This was the BEST most comprehensive, useful, and effective, interactive, and multifaceted bundle I have ever purchased, for both photography and overall on TPT. Bravo to the creator of this work – it’s just perfect!”
-Alessandra, buyer, Introduction to Photography Curriculum
“Love everything from Look Between the Lines! My students love the activities as a stand-alone and as a choice application for a larger project”
-Rosemarie, buyer, Zendoodle Worksheet Bundle