
Read below about how I created Cooper’s first ornament, a baby footprint ornament.
THE STORY
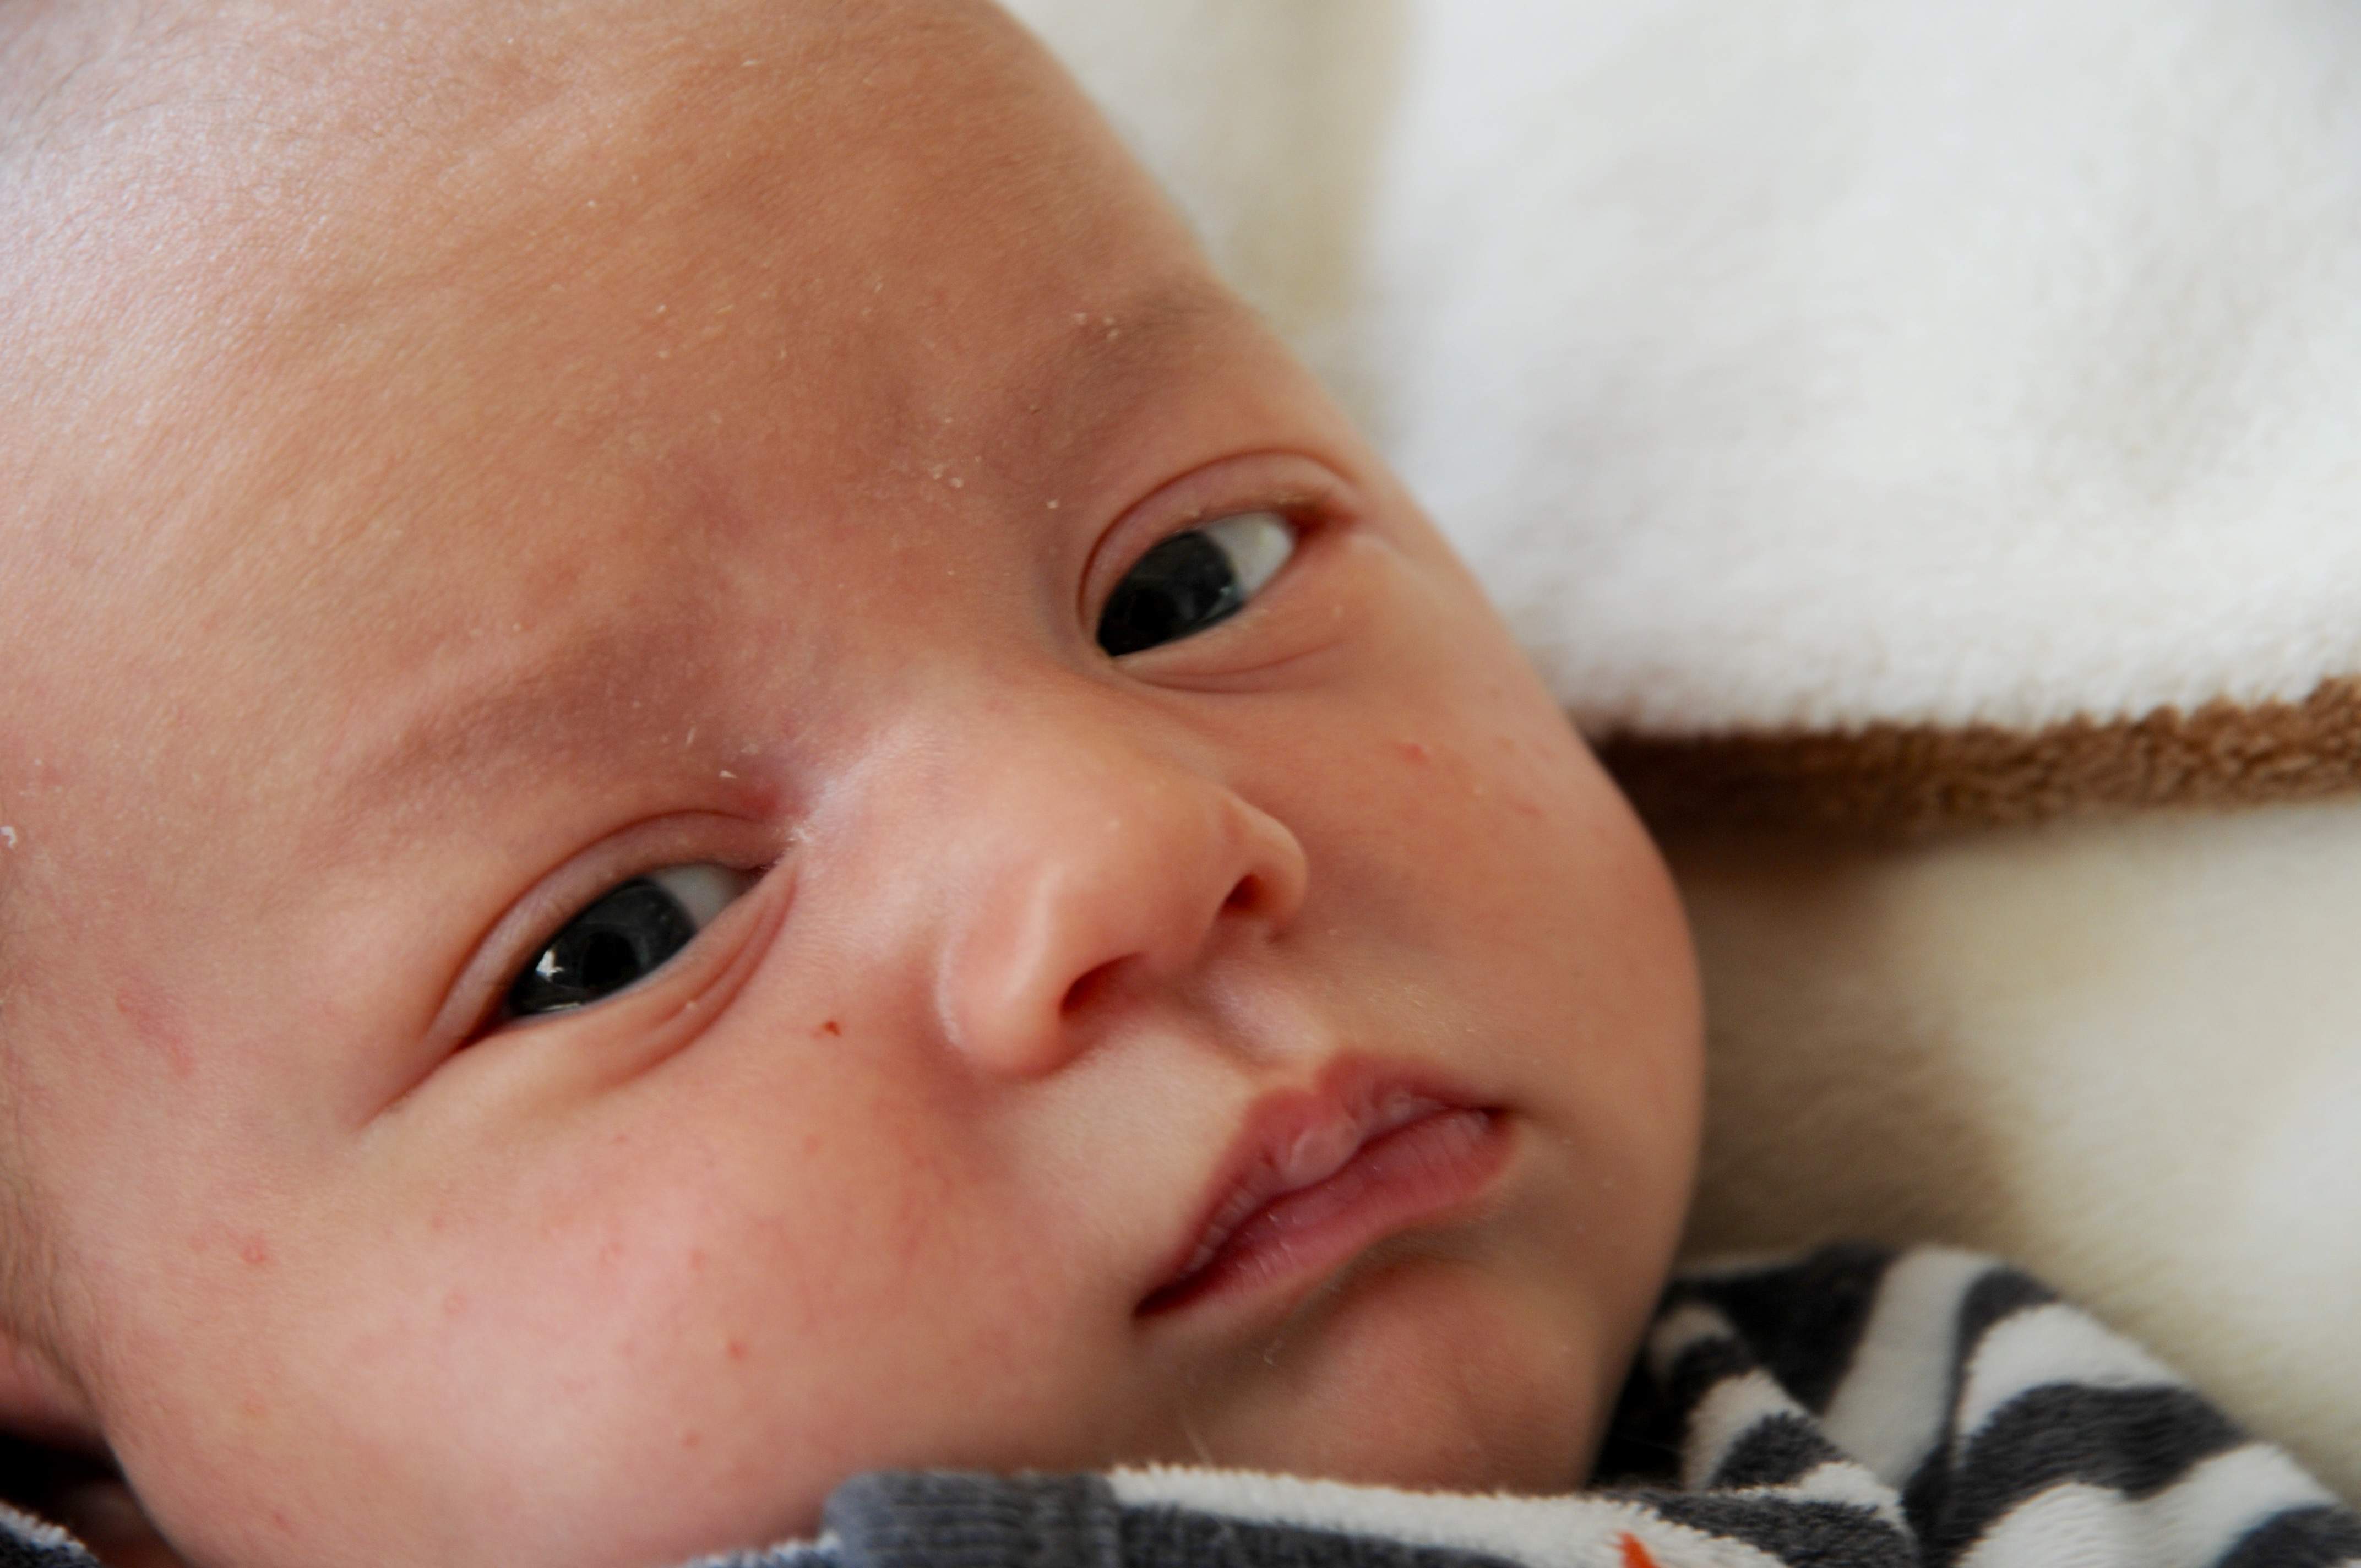
November 12th, 2015 my sweet baby boy was born. Between the visitors, nurses, and doctors, and mentally processing my new baby and title as a mom, I barely remember our hospital stay. I do remember the excitement of packing up our things, trying to figure out how to put Cooper in his car seat the first time, and the mounting anxiety as we got closer to home. I walked in the door, sat down, looked at Nick and my creation, and felt terrified. We had a tiny human to look after.
Four and a half weeks later I still feel moments of terror thinking about the responsibility we took on. However, the fear is now mixed in with laughter, excitement for each new day and new thing he does, and unconditional love for this little man.
Once things began settling down Nick and I realized Christmas was just around the corner. Coop’s first big outing was to our local Lowe’s to pick out our Christmas tree. The next few days were spent unpacking Christmas boxes and transforming our house into our own Christmas wonderland.
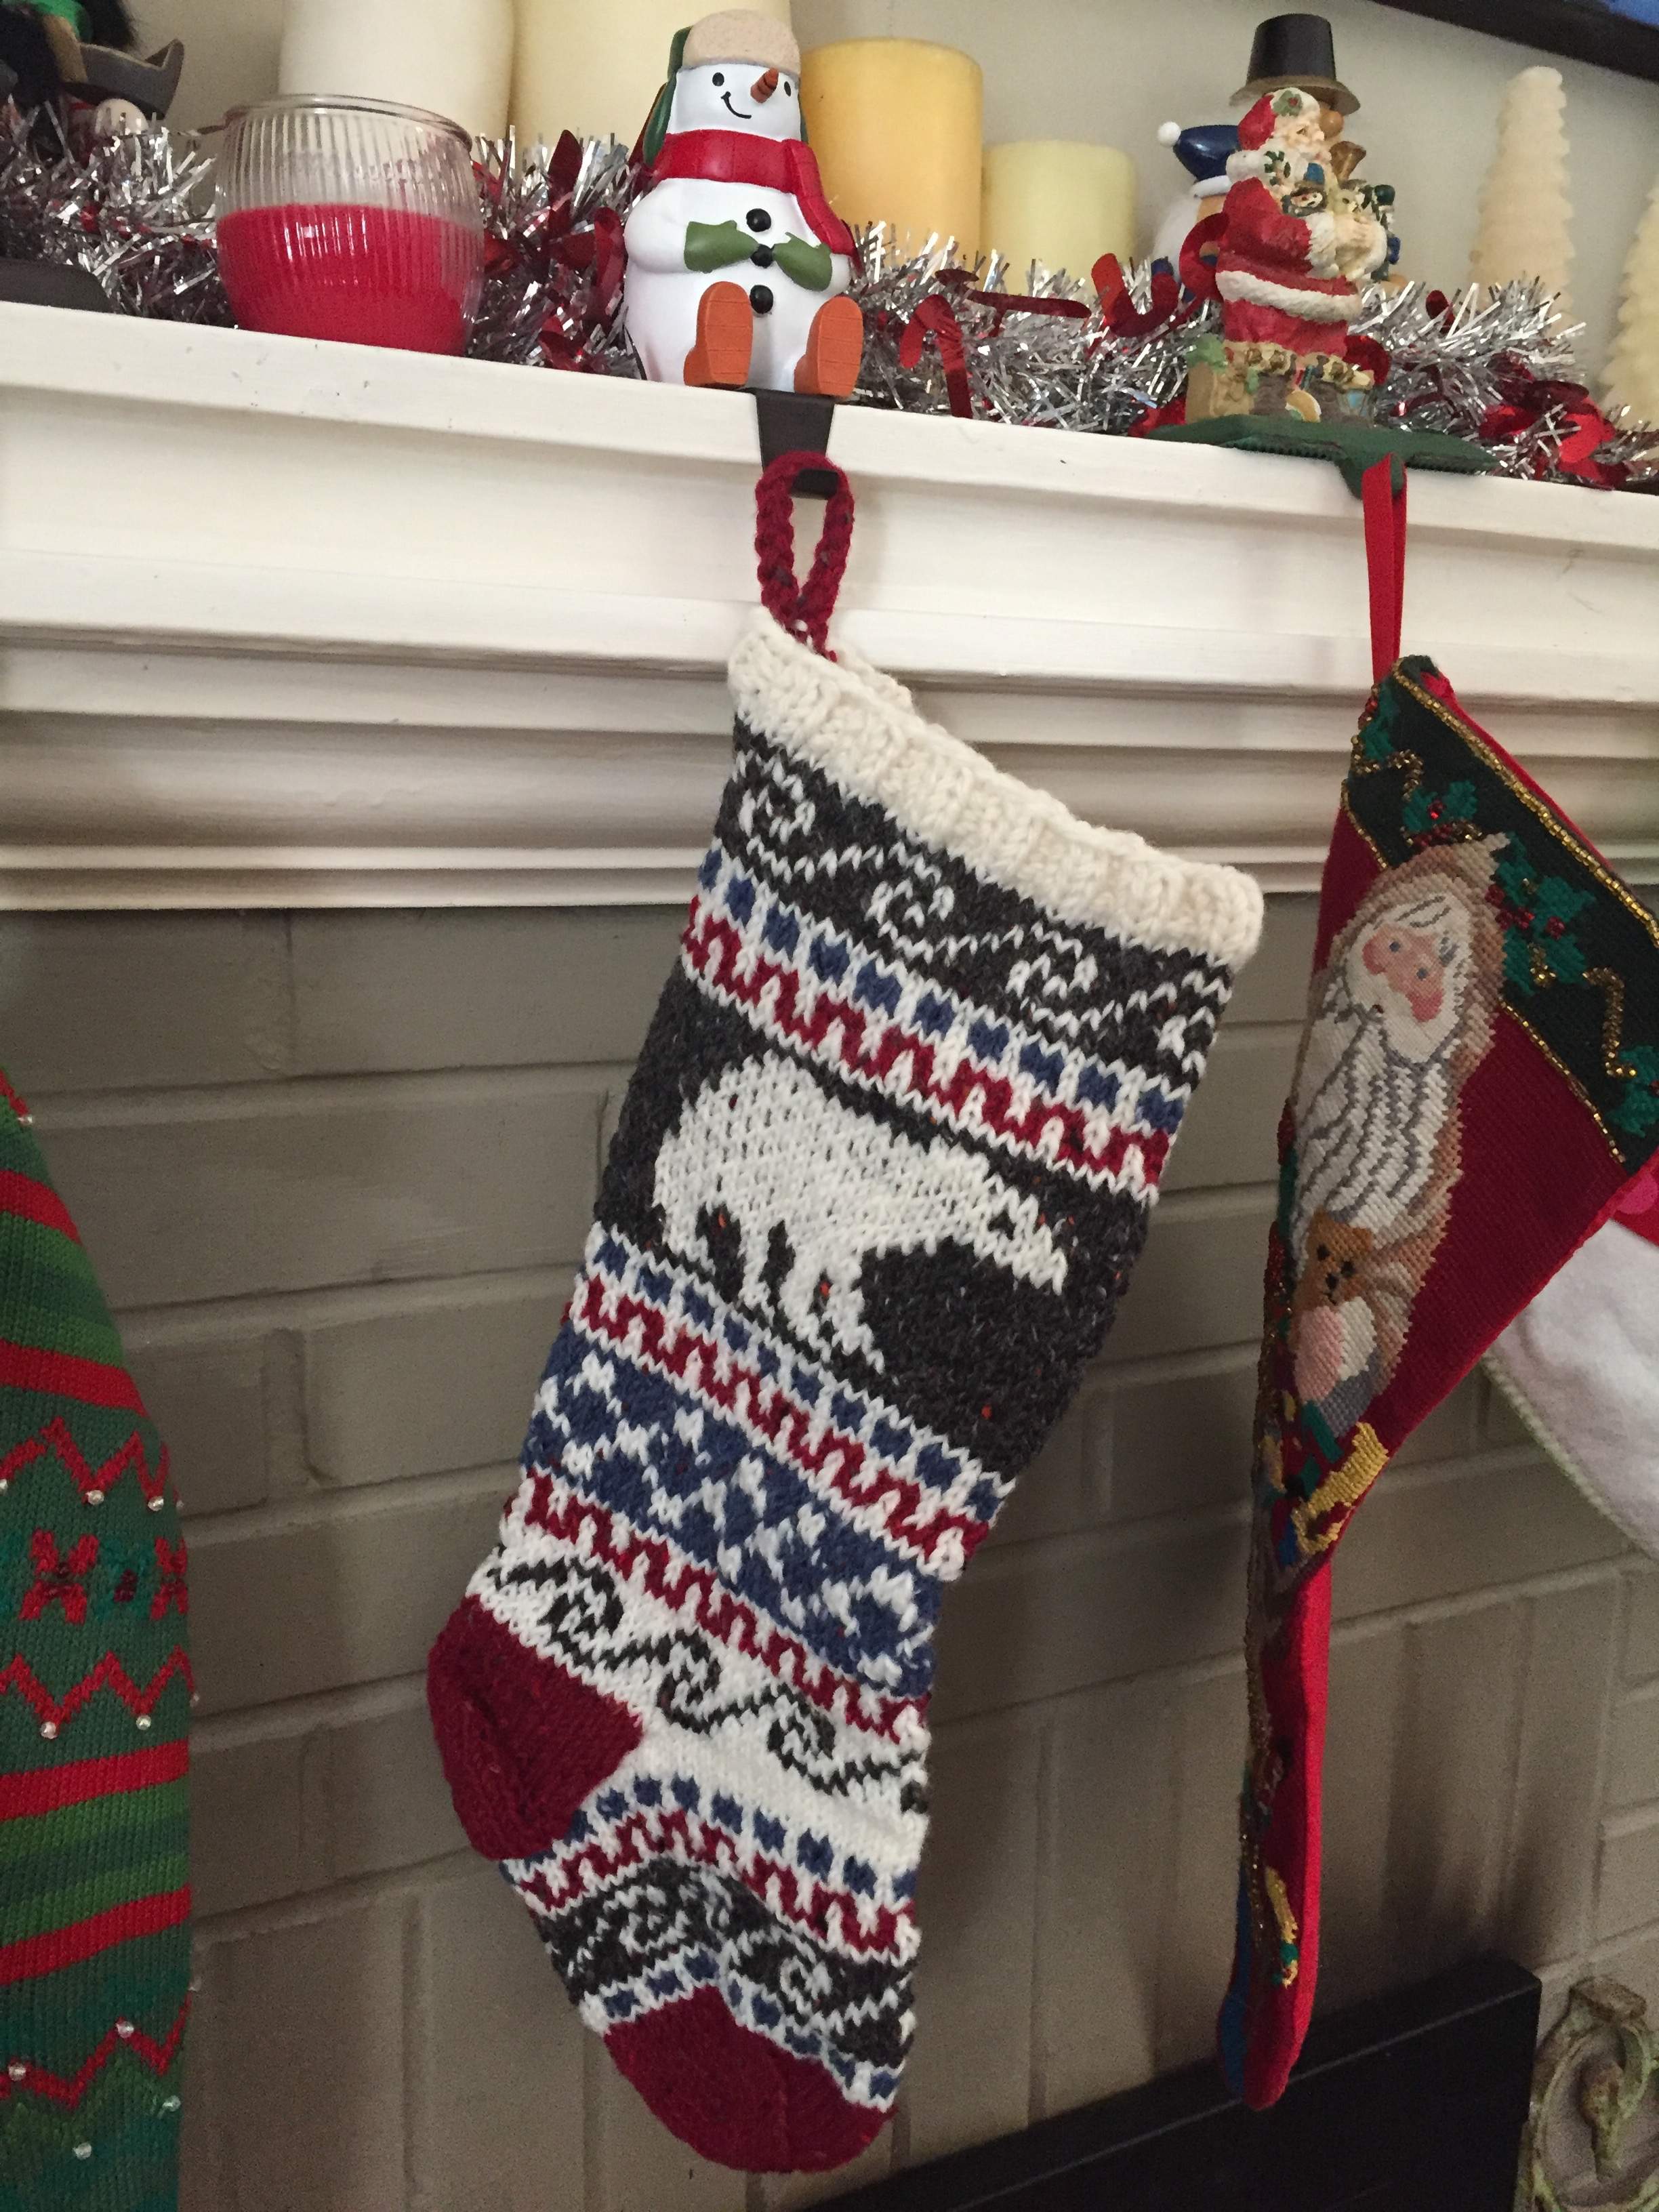
As I set out the stockings I came to the sudden realization that this was Cooper’s first Christmas and he needed Christmas things. He needed presents, a stocking, and of course, baby’s first ornament. I immediately went to my favorite shopping website, Etsy, to see what I could find.
After much research I fell in love with a polar bear stocking, handmade in Ireland, from Santa’s Sock Central. Despite being December already, the stocking was shipped out quickly and arrived in plenty of time. My first item was checked off the list.
HOW TO
Next, I began the hunt for the perfect ornament. I searched page after page on Etsy and found nothing that piqued my interest. I felt the majority of the ornaments aired on the side of cheesy. I wanted something sentimental, traditional, and interesting. I wanted an ornament Cooper would gladly take and put on his own tree one day.
After coming up empty-handed I decided it was time for another craft project. I would find a way to personalize an ornament for him. I ended up finding a beautiful hand-blown glass ornament from Grow Gallery, and knew it would make the perfect base. I decided to use glass paint to put Cooper’s handprint and his birth date on the ornament. It would be quick, easy, and exactly what I was looking for.
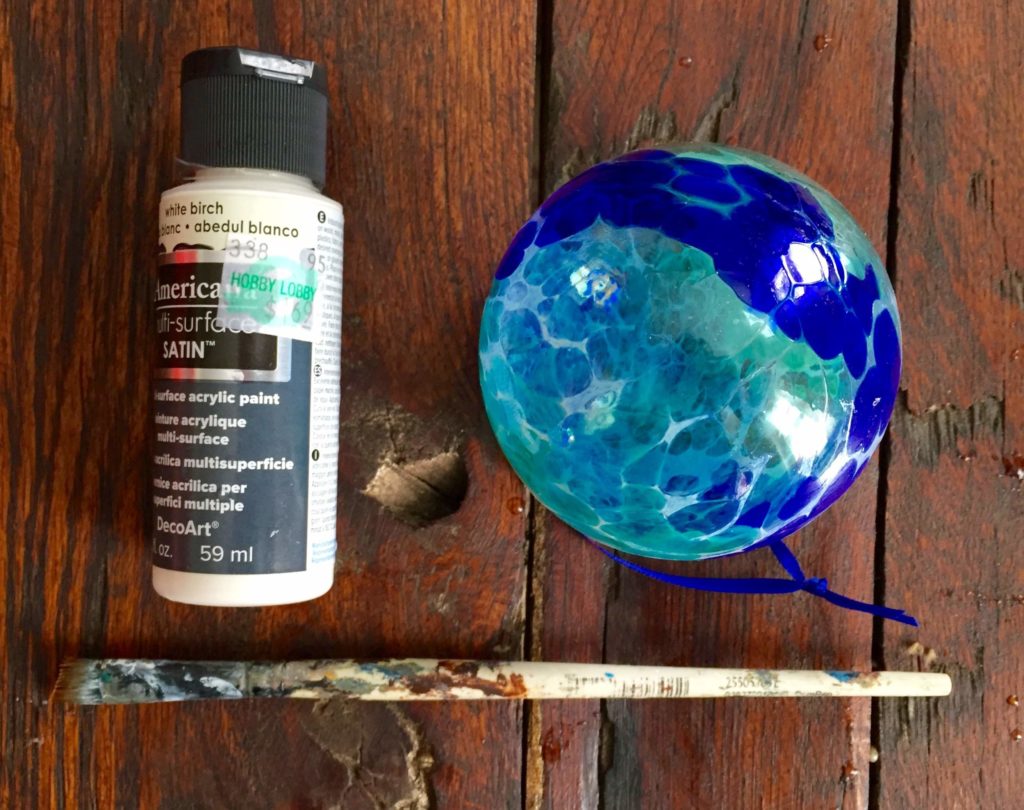
To personalize the ornament all I needed was the ornament, glass paint (non-toxic), a paintbrush, and paper towels for clean up.
We waited until Cooper was good and tired until Nick and I attempted the first-hand print. We quickly painted his hand and tried to immediately press it to the ornament. However, as soon as the paint hit his hand, his little fingers curl into a fist that was difficult to uncurl. By the time we had his hand flat the paint was smeared on everything. By the time his hand made contact with the ornament half the paint had dried. It was a complete failure.
Three attempts later I decided the hand was too much, a footprint would have to do. Once again I waited until he was fast asleep and carefully pulled his foot from his onsie footie.
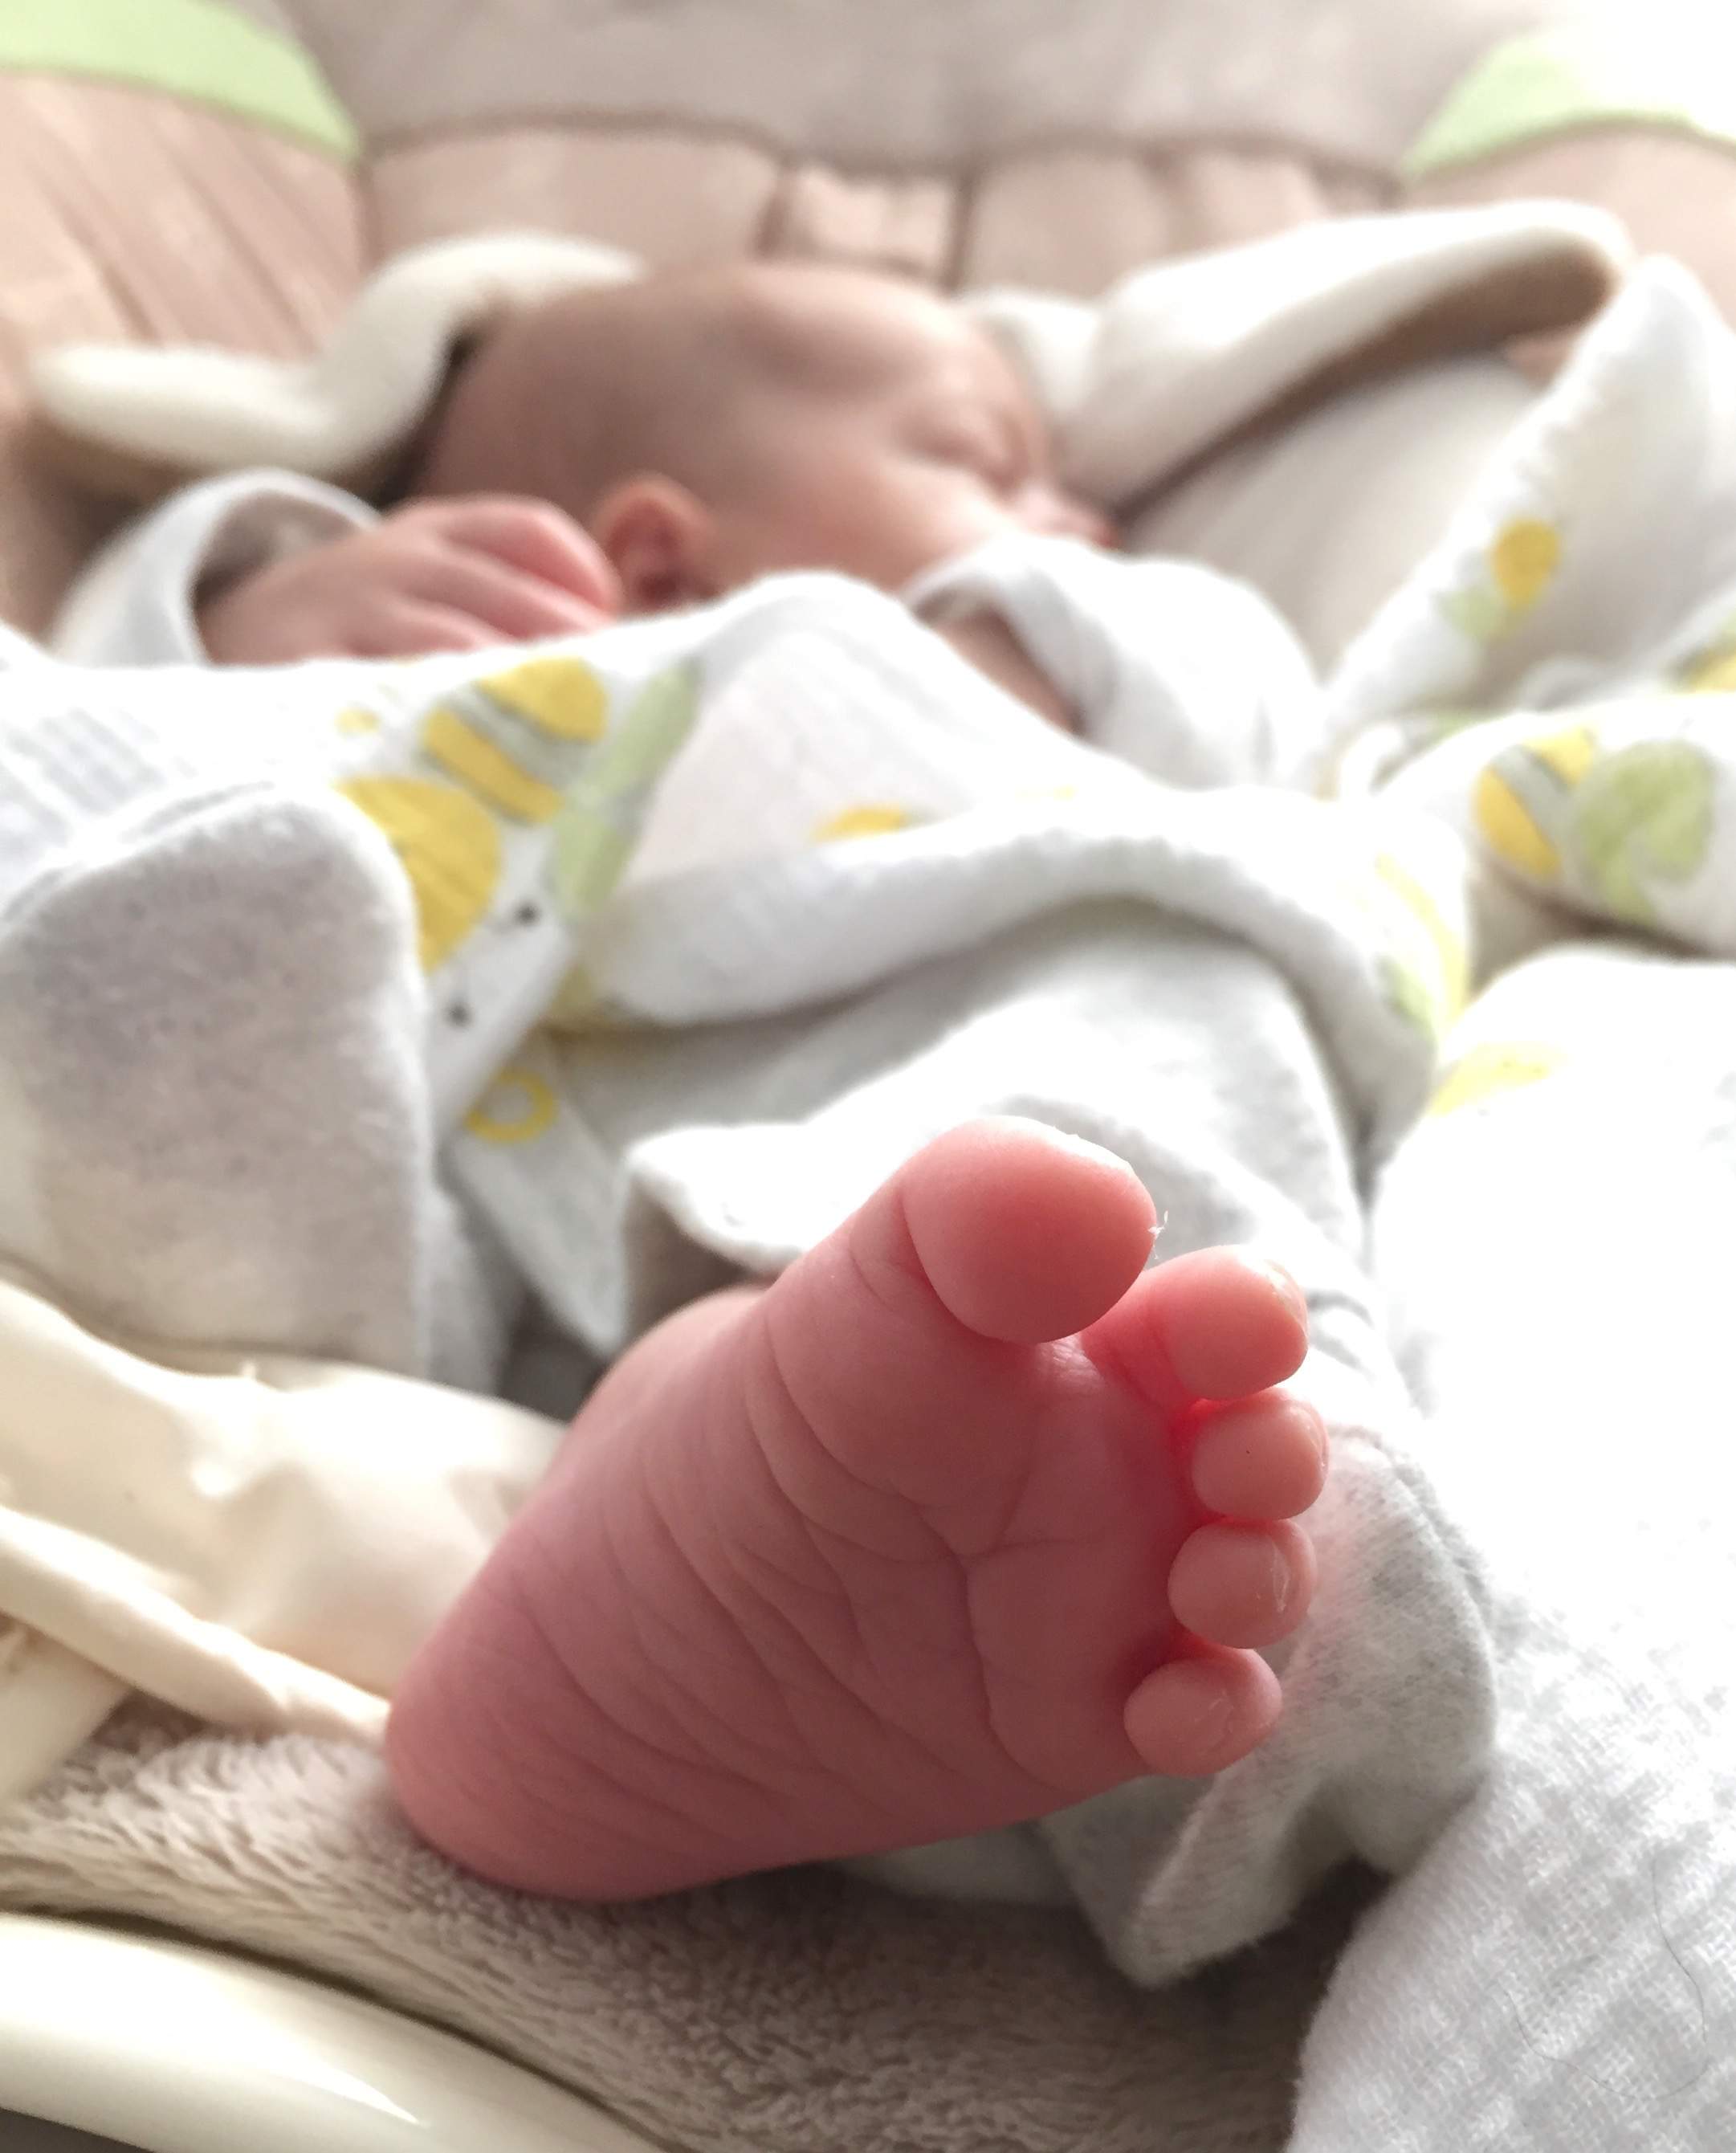
At every stretch, groan, and deep breath I froze for a moment, hoping he wouldn’t wake up. Next, I applied the paint, and held my breath as I waited for him to wake from his slumber.
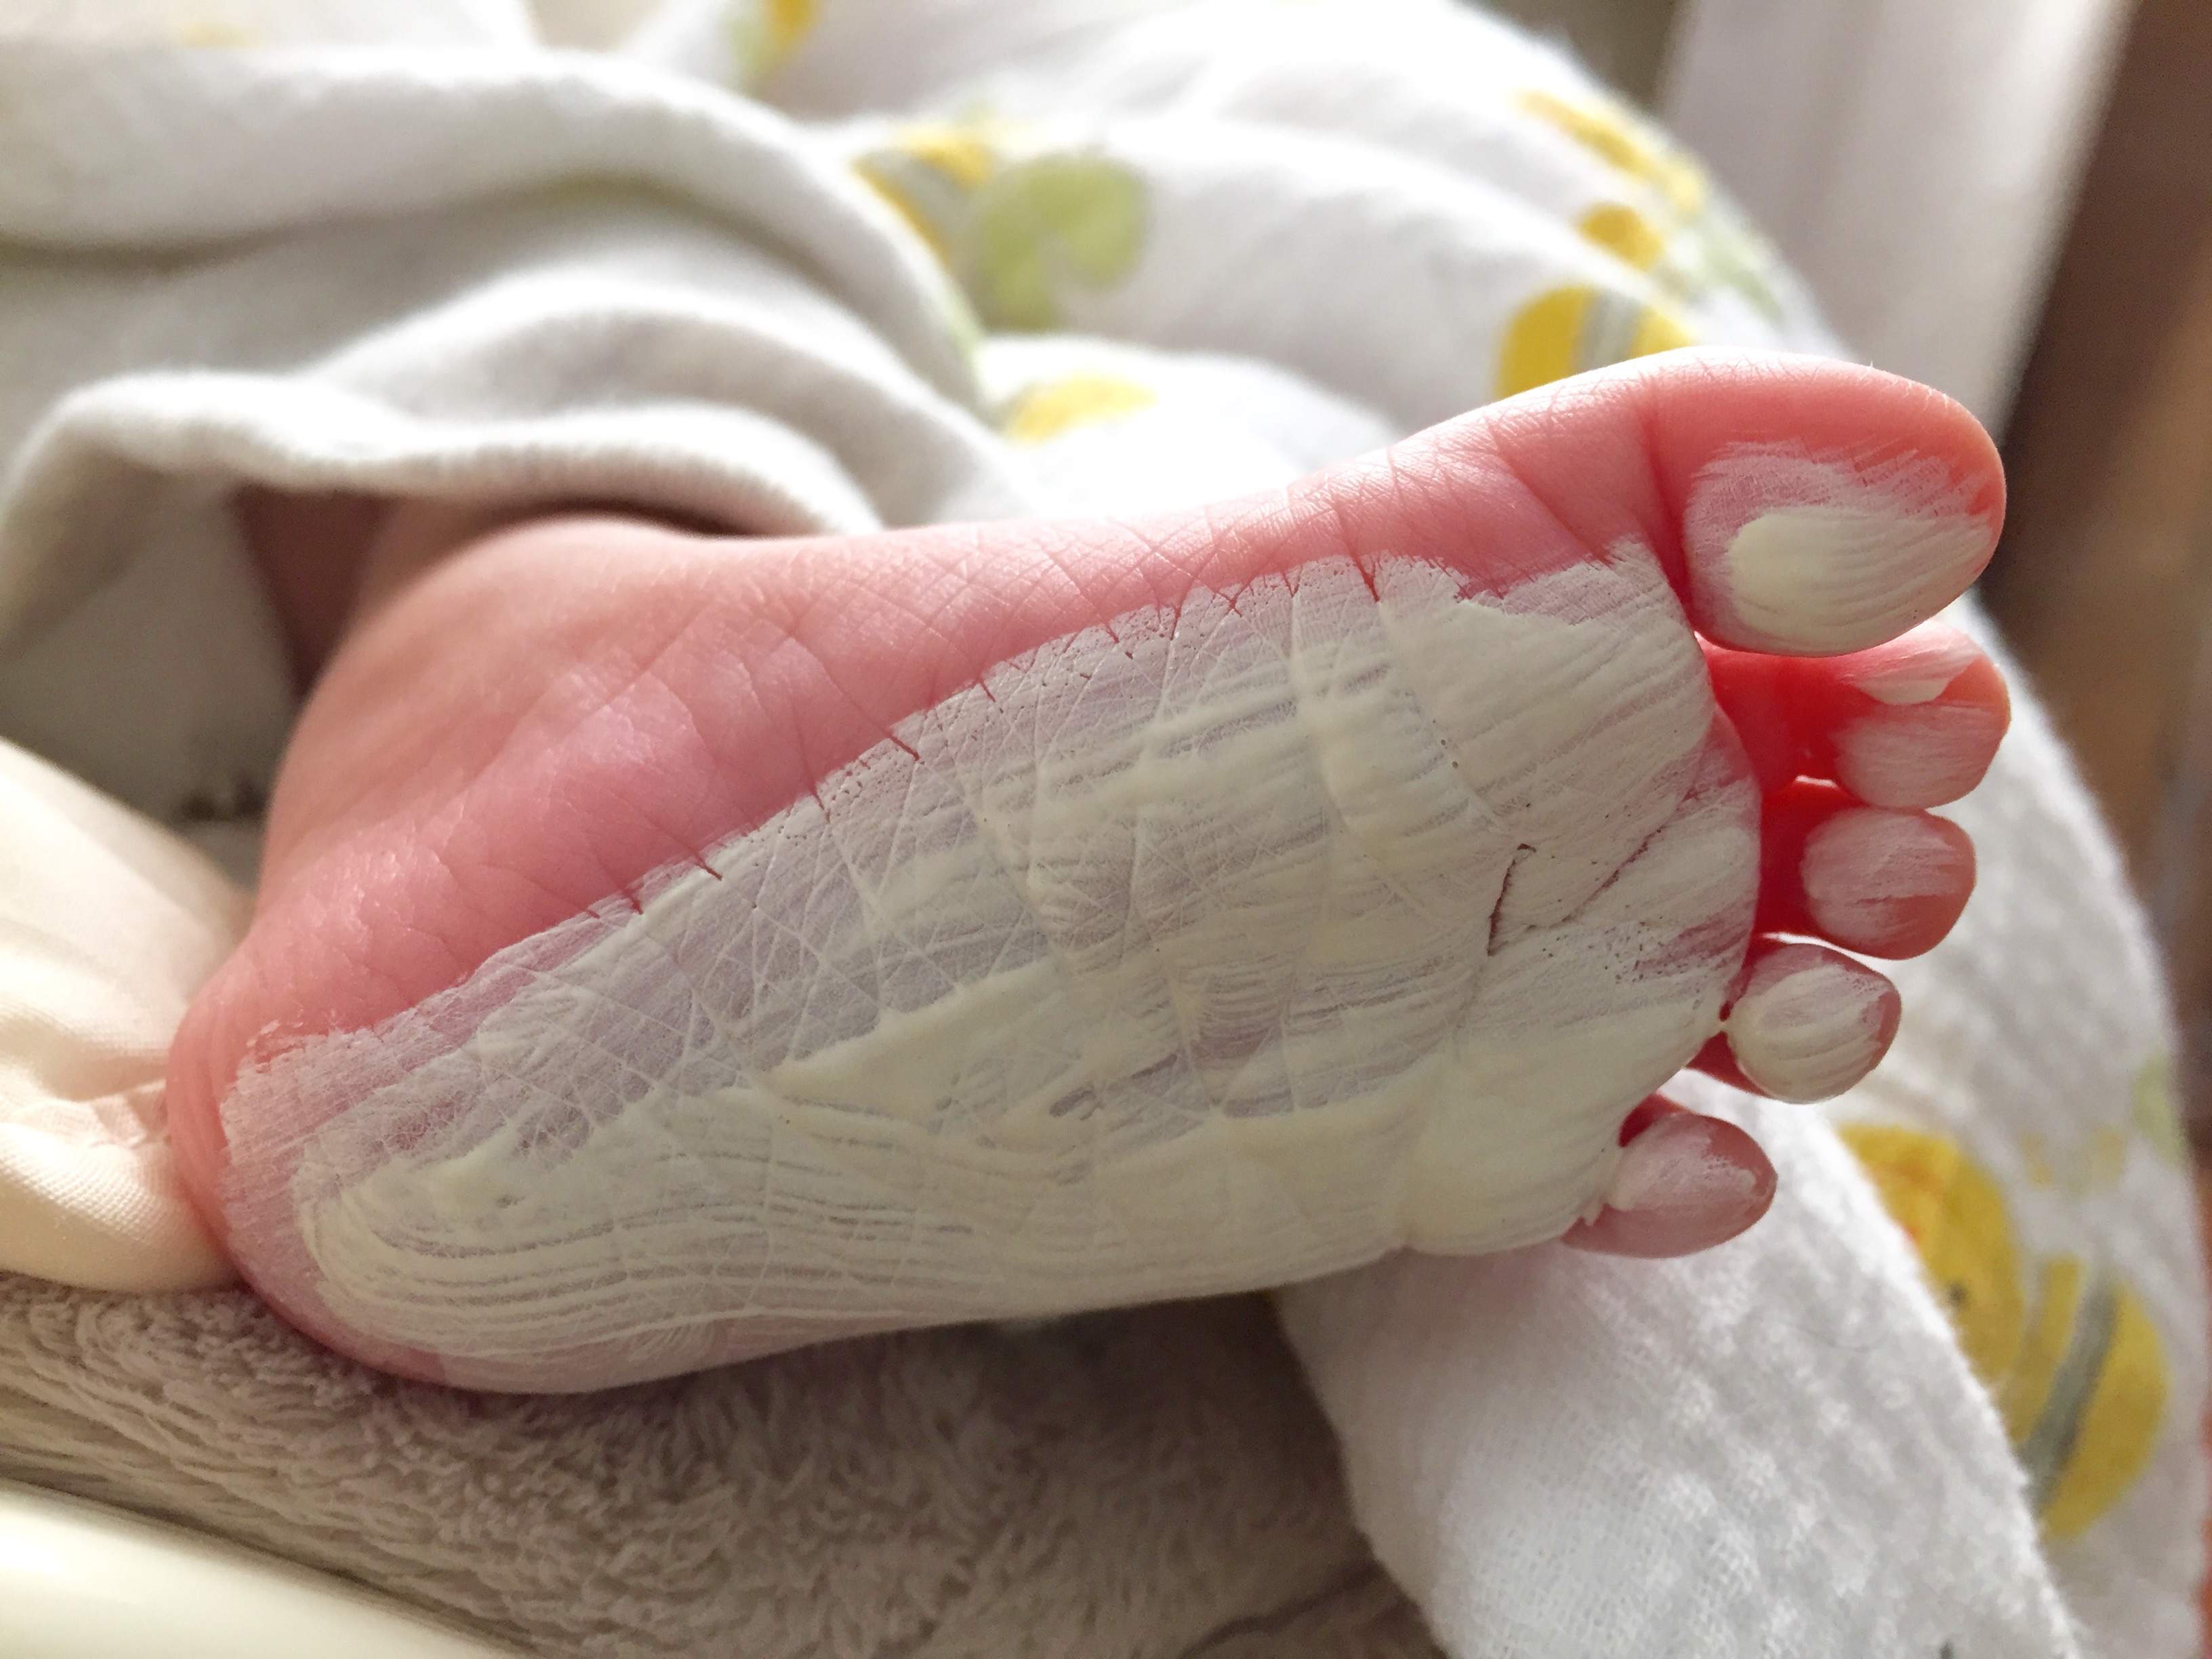
Surprisingly, he stayed fast asleep through the foot painting, and didn’t wake up until his foot made contact with the ornament. The first try I got a clean print that only needed light cleaning up around the edges. I used a thinner paintbrush to add his birth date under this heel.
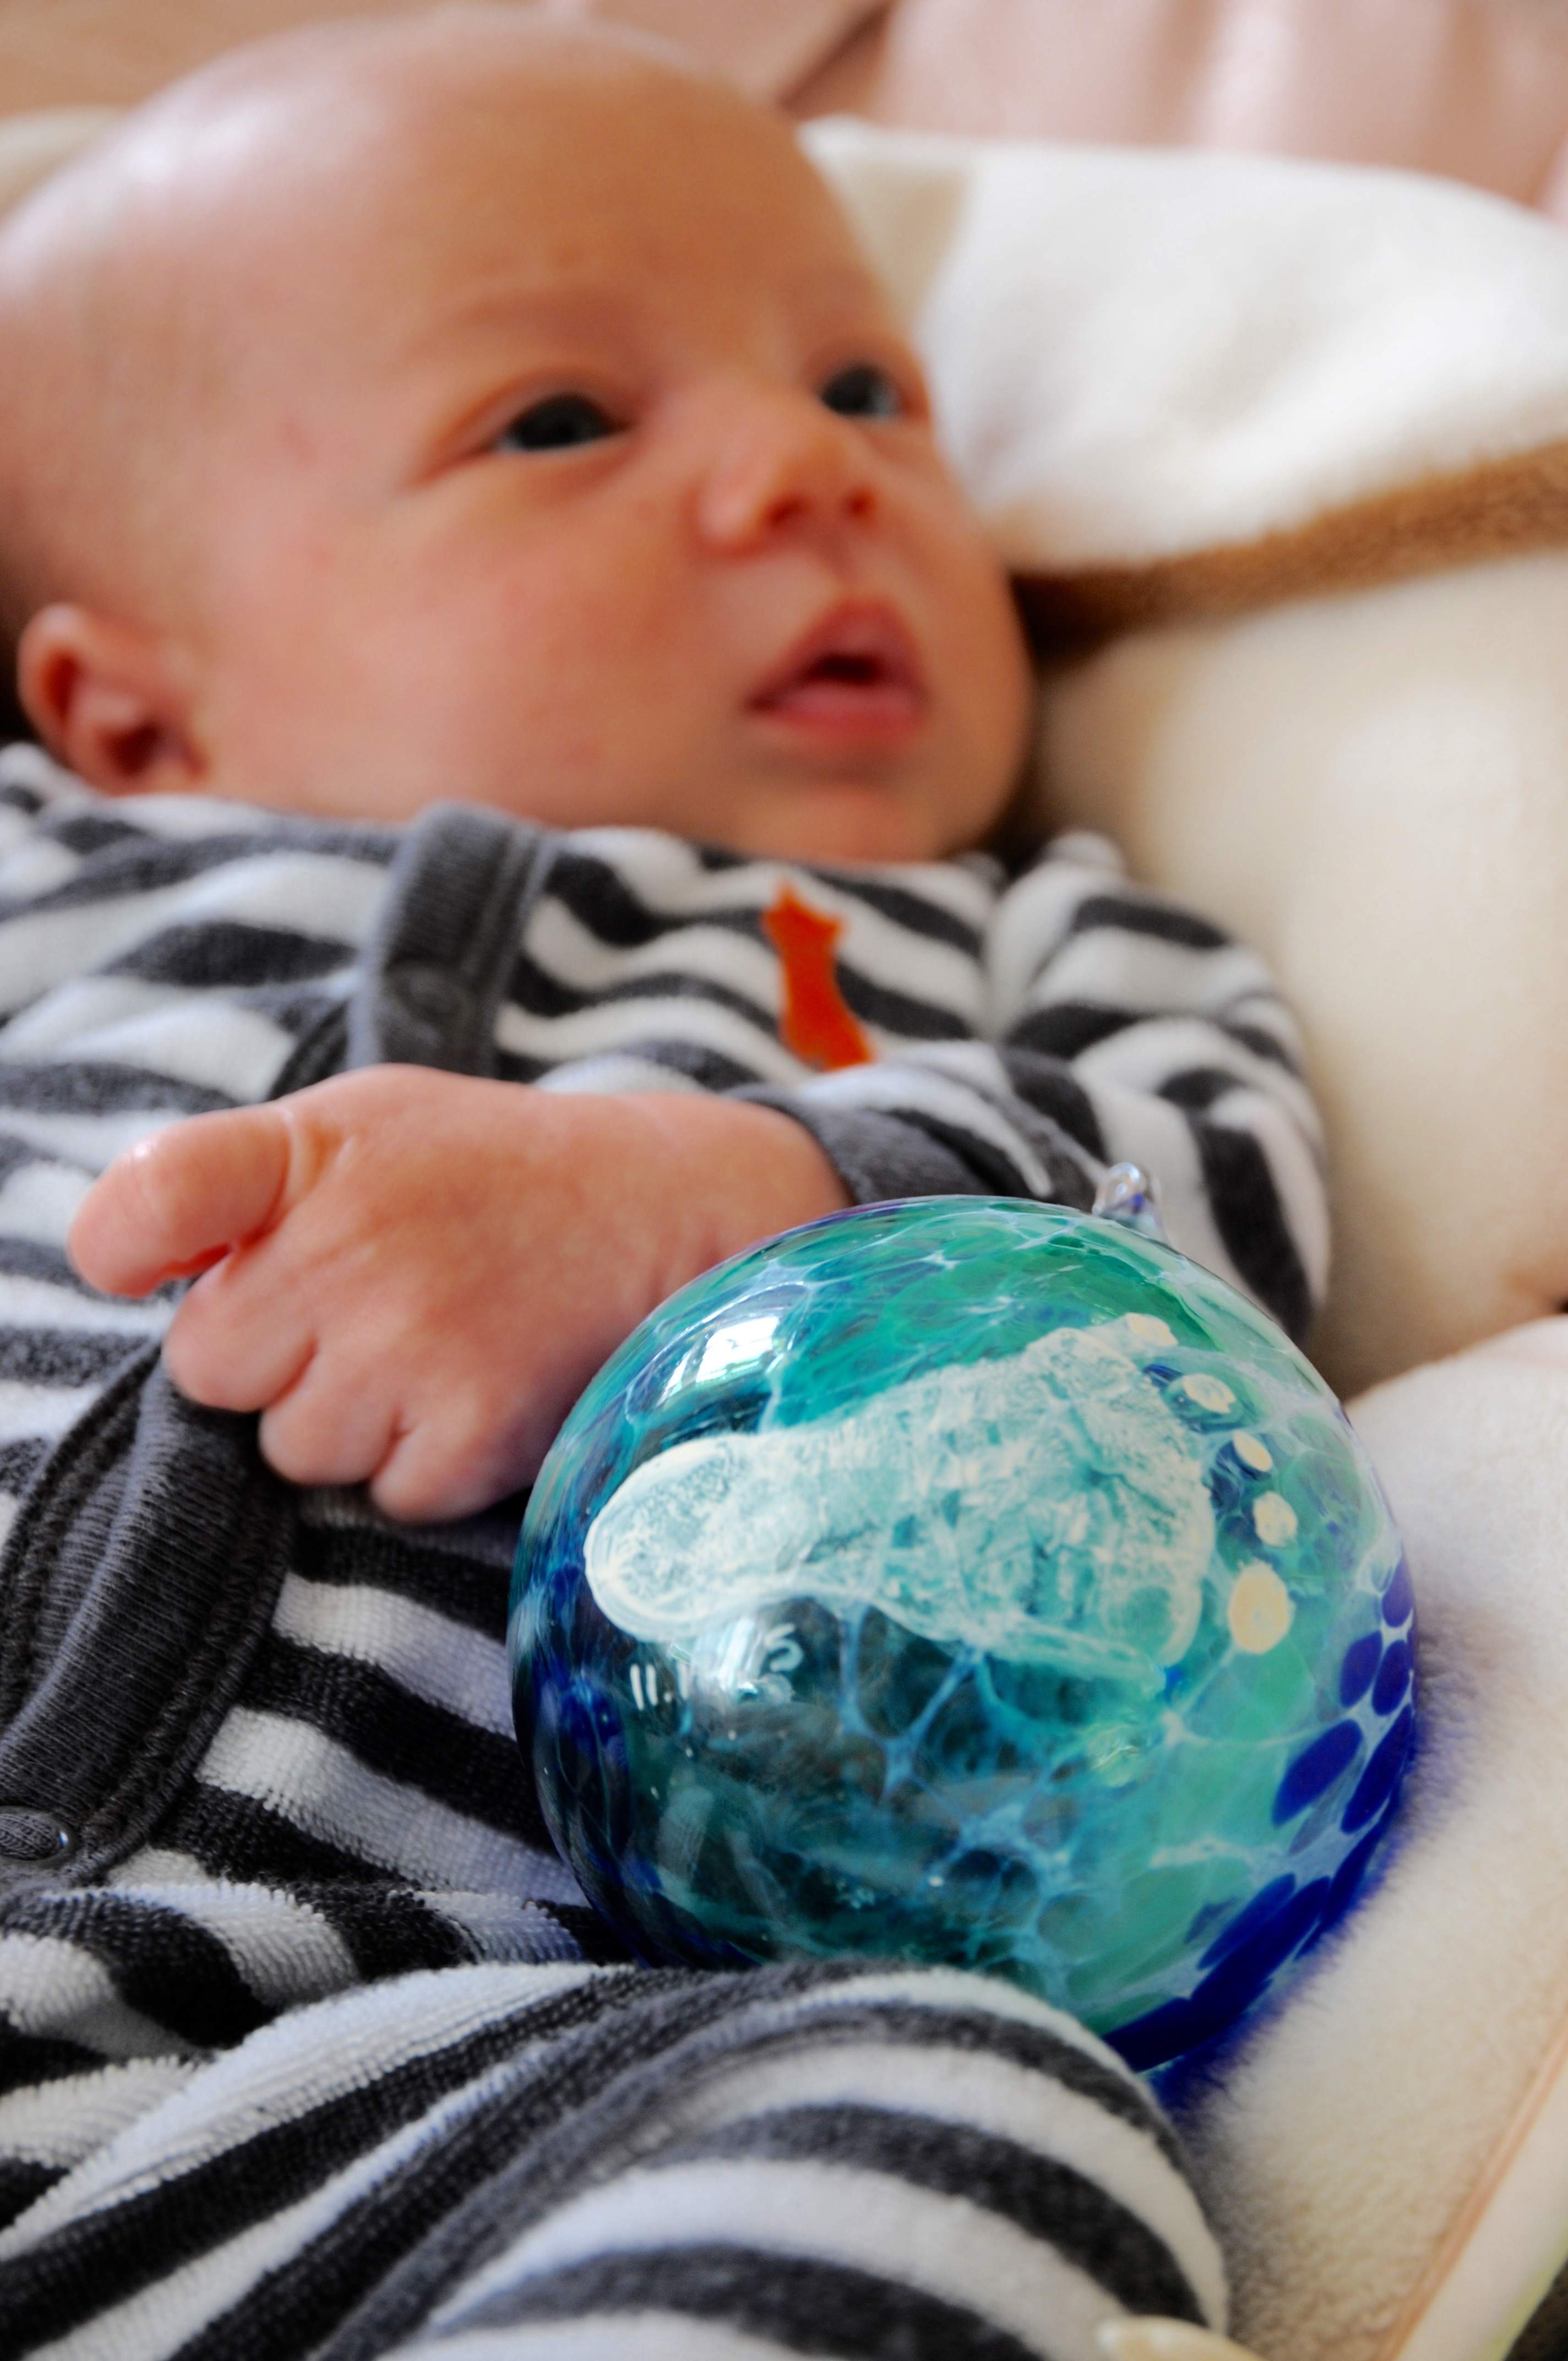
After air drying for four days I baked the ornament in the oven for 20 minutes at 325 degrees to set the paint. I love the end product and how personal it is. Once I gave up on the hand print and opted for the “mistletoes” print, the printing process only took a few minutes from start to finish.
Thanks for taking the time to check out my blog! Help me spread the word about my arts and crafts by sharing with others. I couldn’t do it without you! Merry Christmas, happy holidays! Check out more blog posts here. Shop my education resources here. Don’t forget to follow me on Instagram and TikTok for weekly visual journal demos. Until next time!
Related Posts

Leave a Reply