
To prepare for my brother-in-law and soon-to-be sister-in-law’s upcoming nuptials, Nick and I hosted a couples shower towards the end of summer. I love all the crafty projects that come along with hosting events, and the fabric tassel banner is one of my new favorites. See below for supplies and step-by-step instructions on how to make your own!

The supply list for this project is fairly short, which I love. All you need are a few different fabric patterns, scissors, twine or string, and something to use to hang it (tape, pins, etc.). I got a 1/4 yard of fabric for each fabric, except the burlap which I got a 1/2 a yard of. I ended up using burlap elsewhere for decor, so I estimate I used around a 1/4 of it for this project.
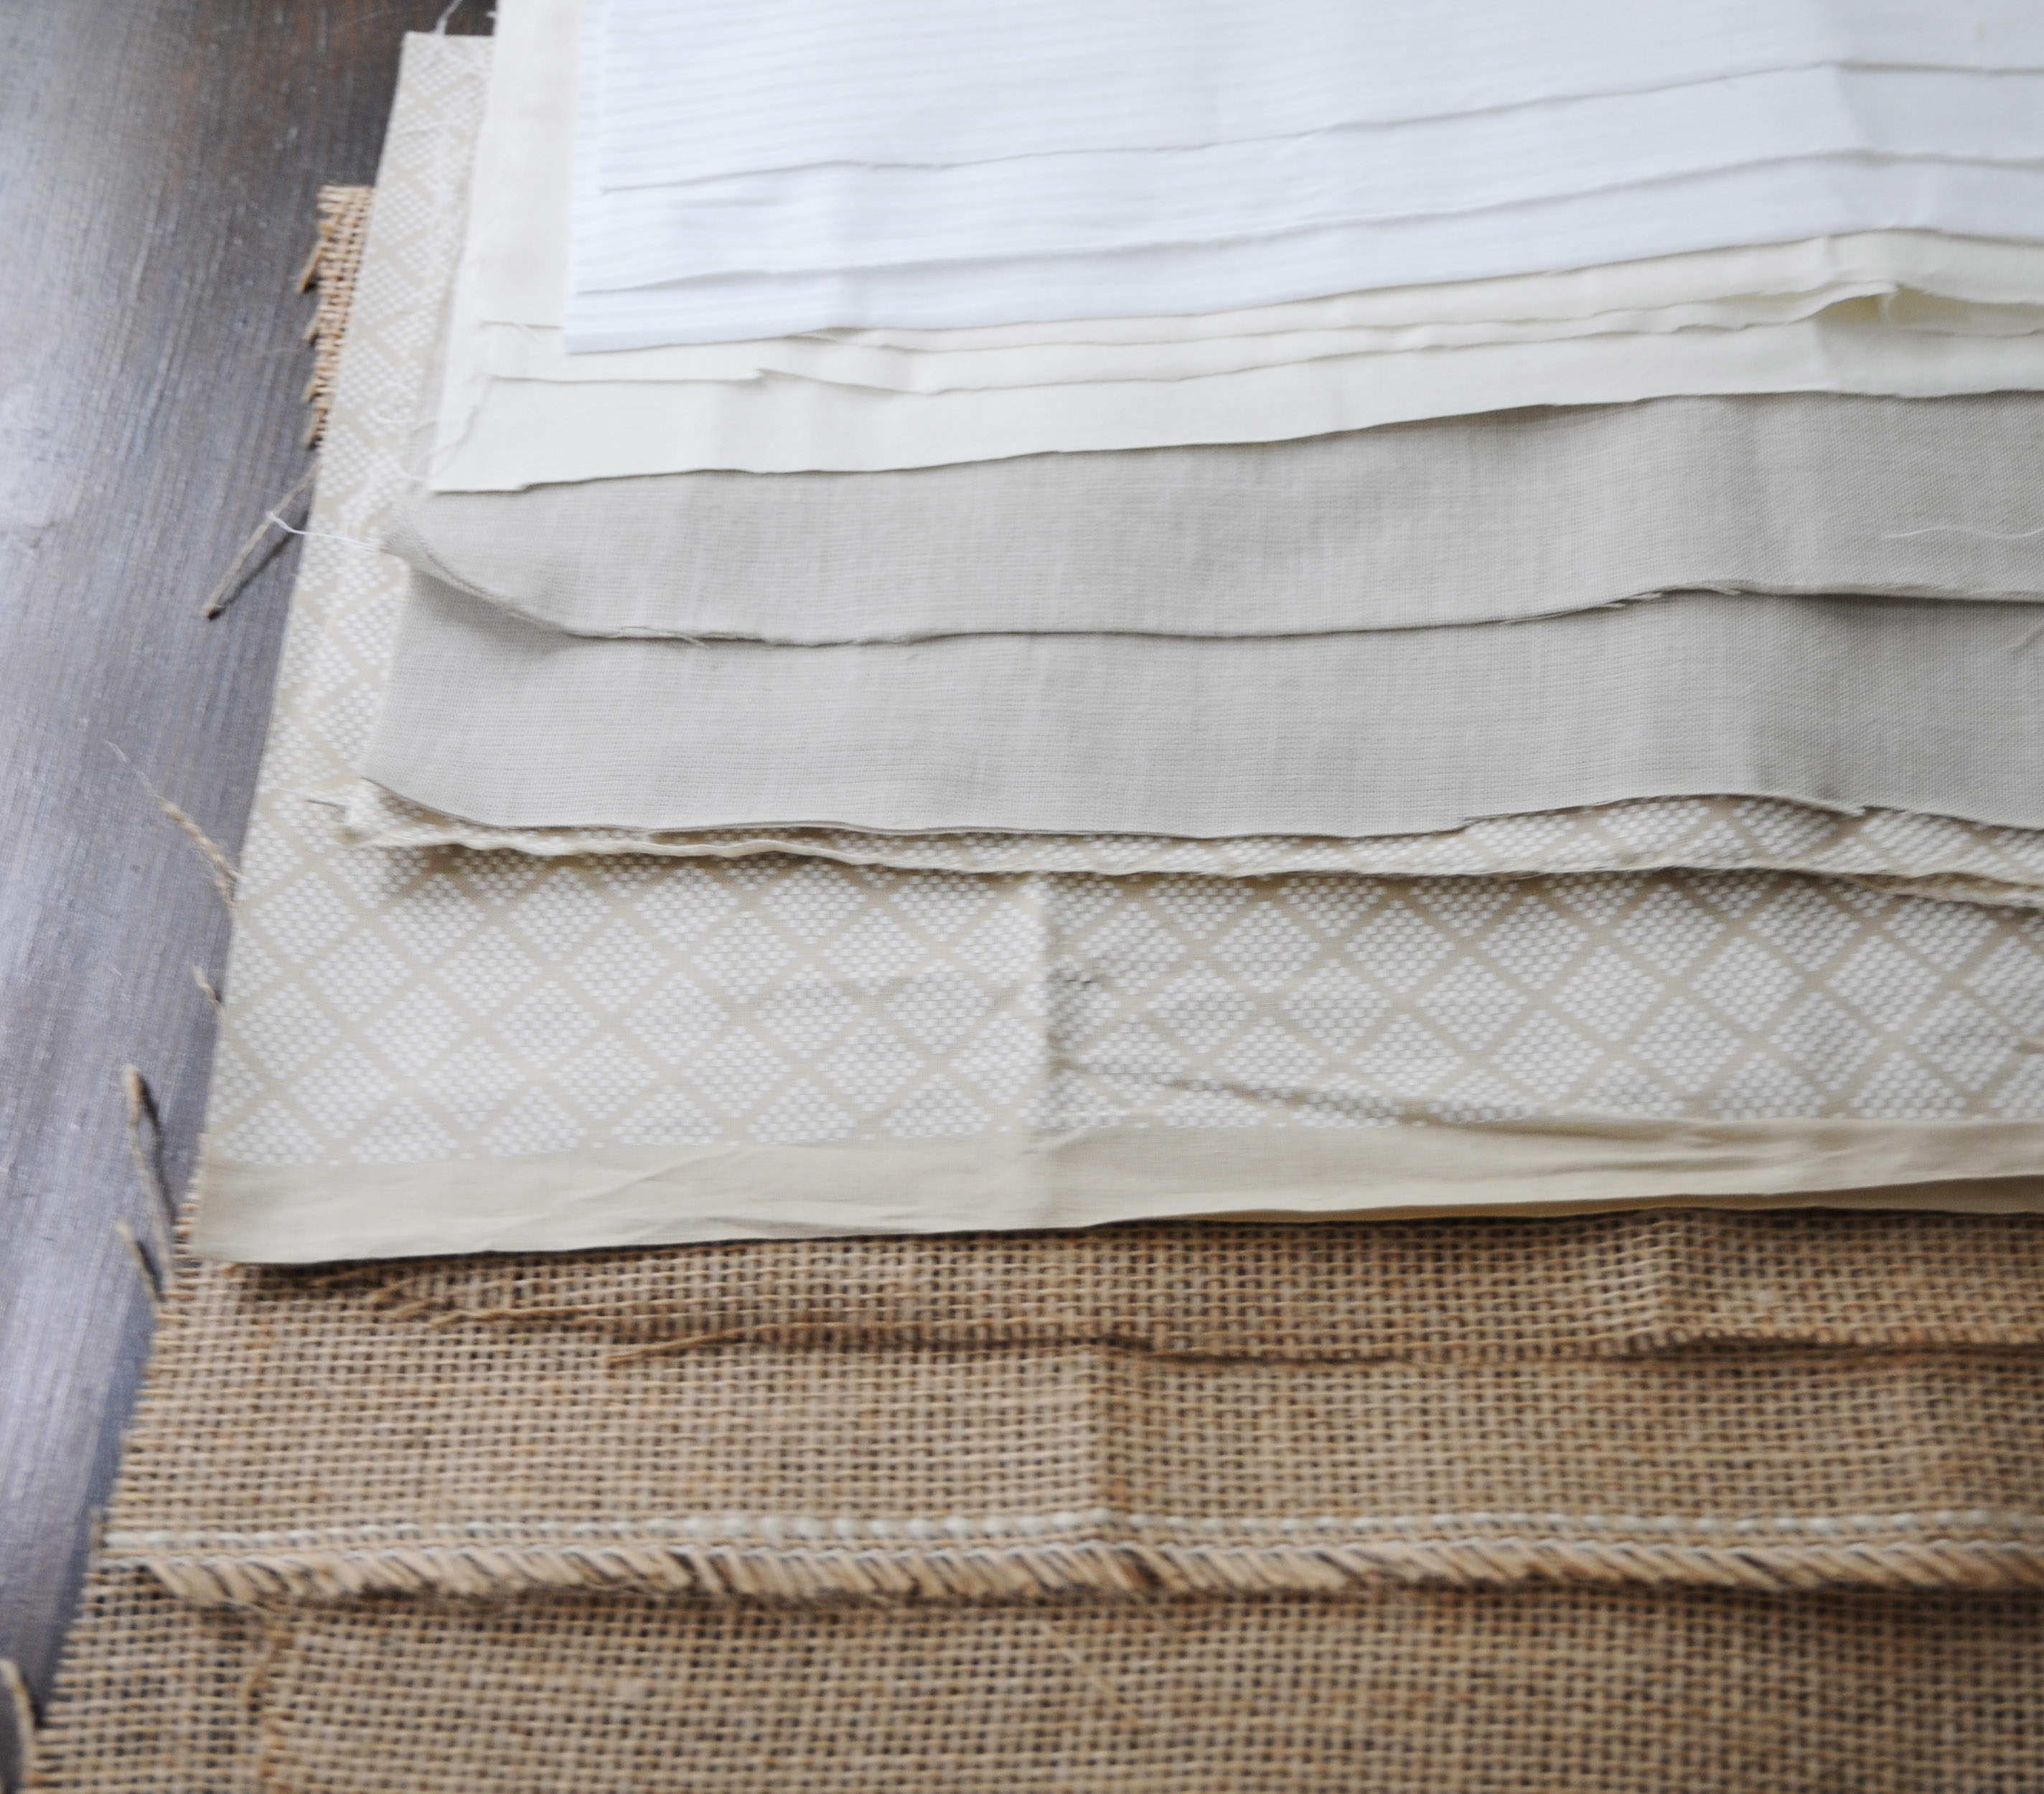
When I host bridal showers, I always try to align with the wedding colors. Sarah and Dan had a neutral color palette for their wedding, so I went with neutral colors for their fabric tassels. Rather than getting larger quantities of 1 or 2 fabrics, I got small quantities of 5 different fabric patterns. I wanted somewhat of a color scale, going from light to dark, white to gray to brown. I chose subtle colors and patterns, which fit with the rest of the shower decor and their wedding decor.
Before I started making the tassels I cut each piece of fabric into four equals parts. I ended it up cutting the burlap into slightly smaller parts, and ended up with five. I wanted to start and end with the burlap, and I liked having an odd number mixed in with all the even number tassels. Because the burlap is so thick, you can easily cut less of it and get an equally full looking fabric tassel.
After I cut the fabric up, I laid out the patterns and planned out their sequence of them.
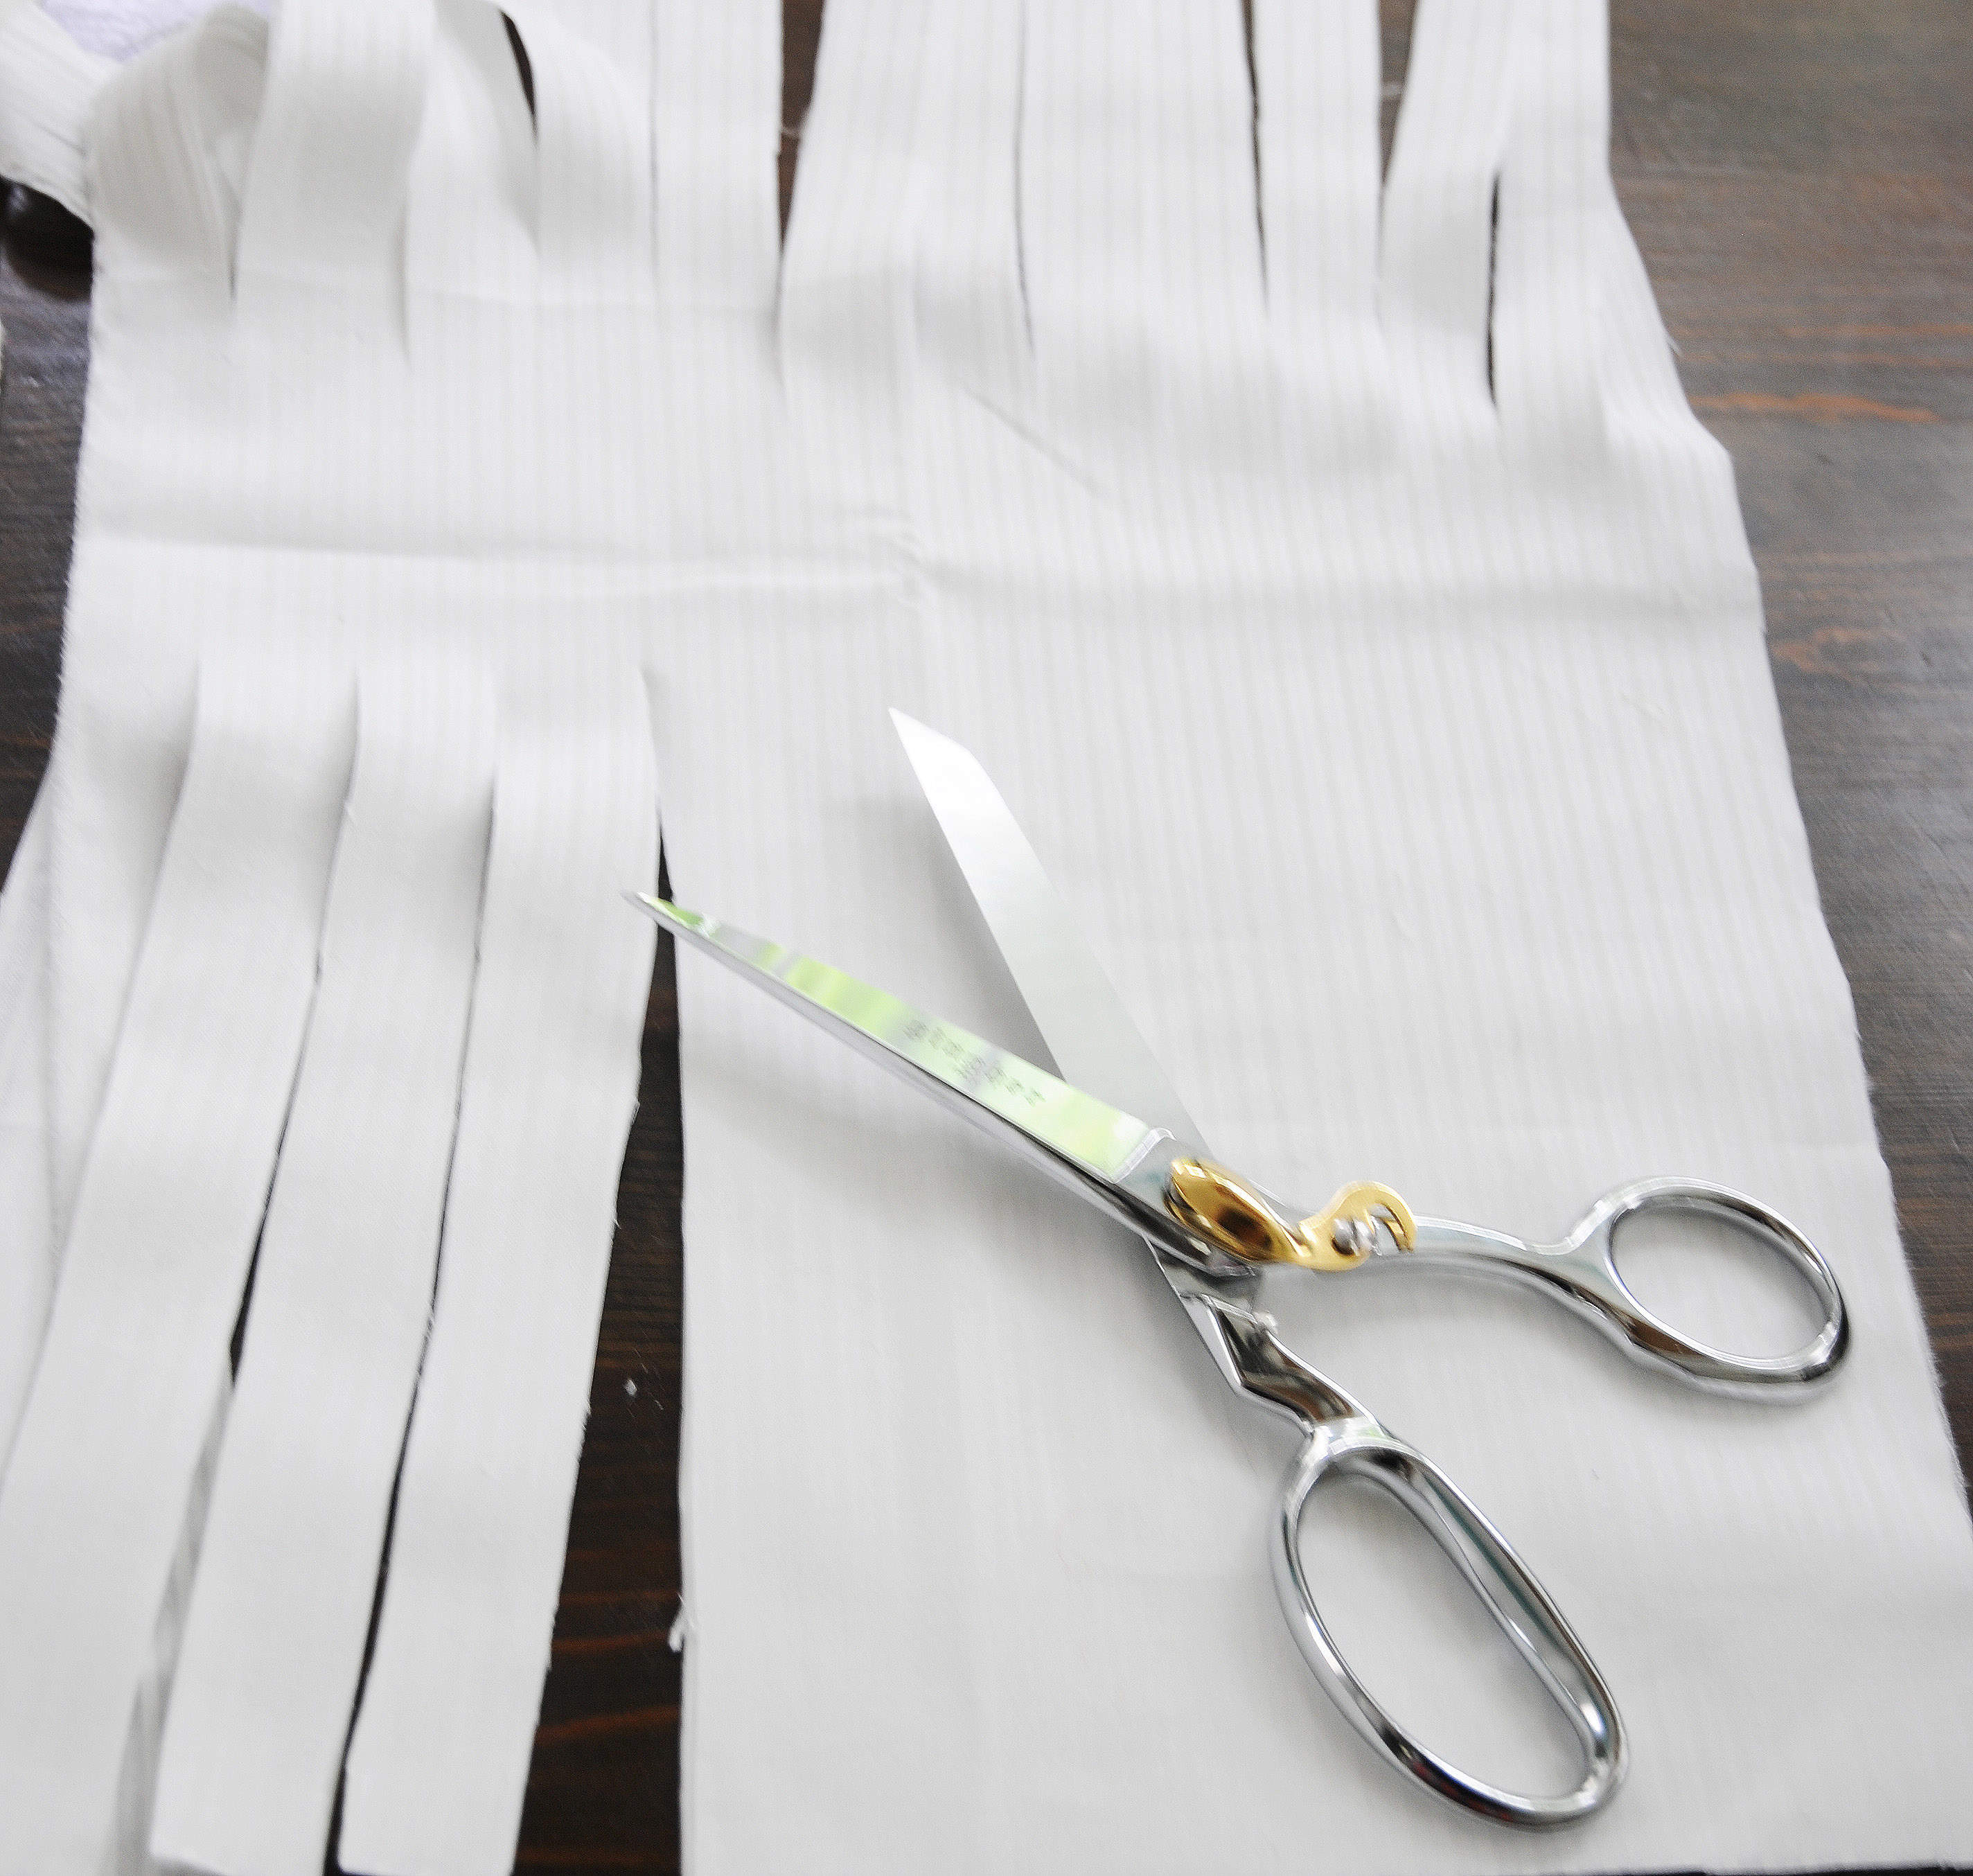
Once I had the fabric ready to go, I began cutting them as if I were making fringe. First, I folded each piece of fabric in half. Next, I cut vertical strips, almost all the way to the fold line, but stopping about an inch before I hit it. 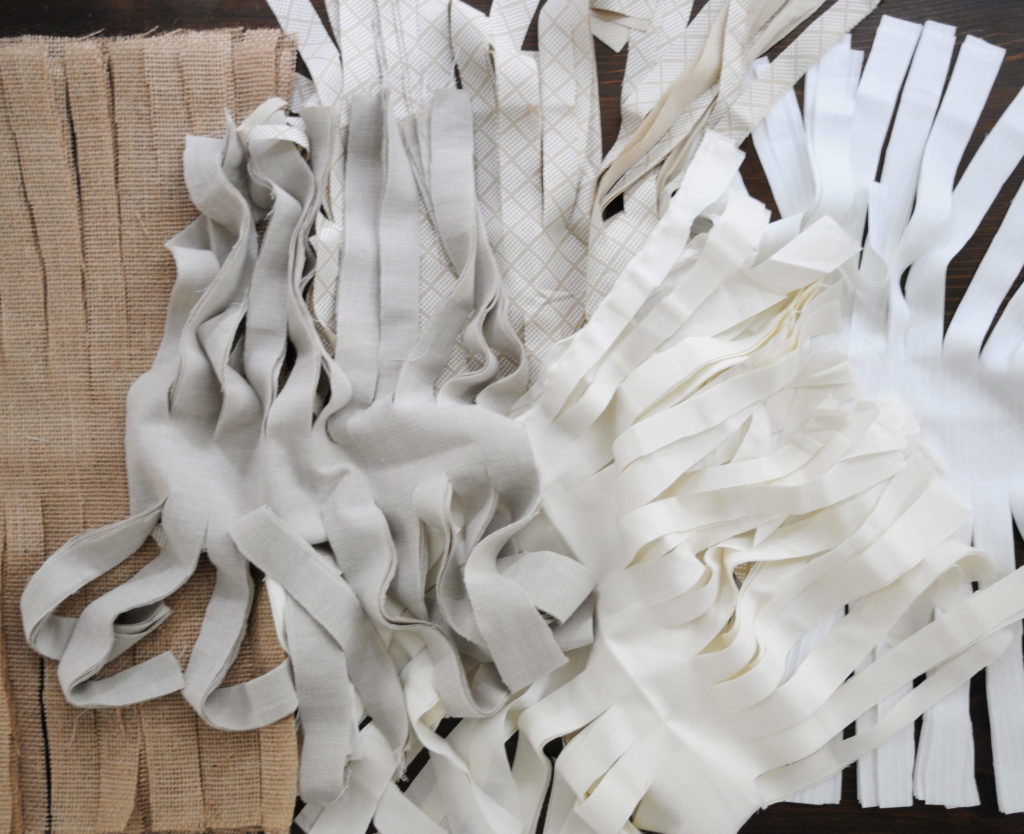
“Fringe” all your sections of fabric, then un-fold them and lay them flat.
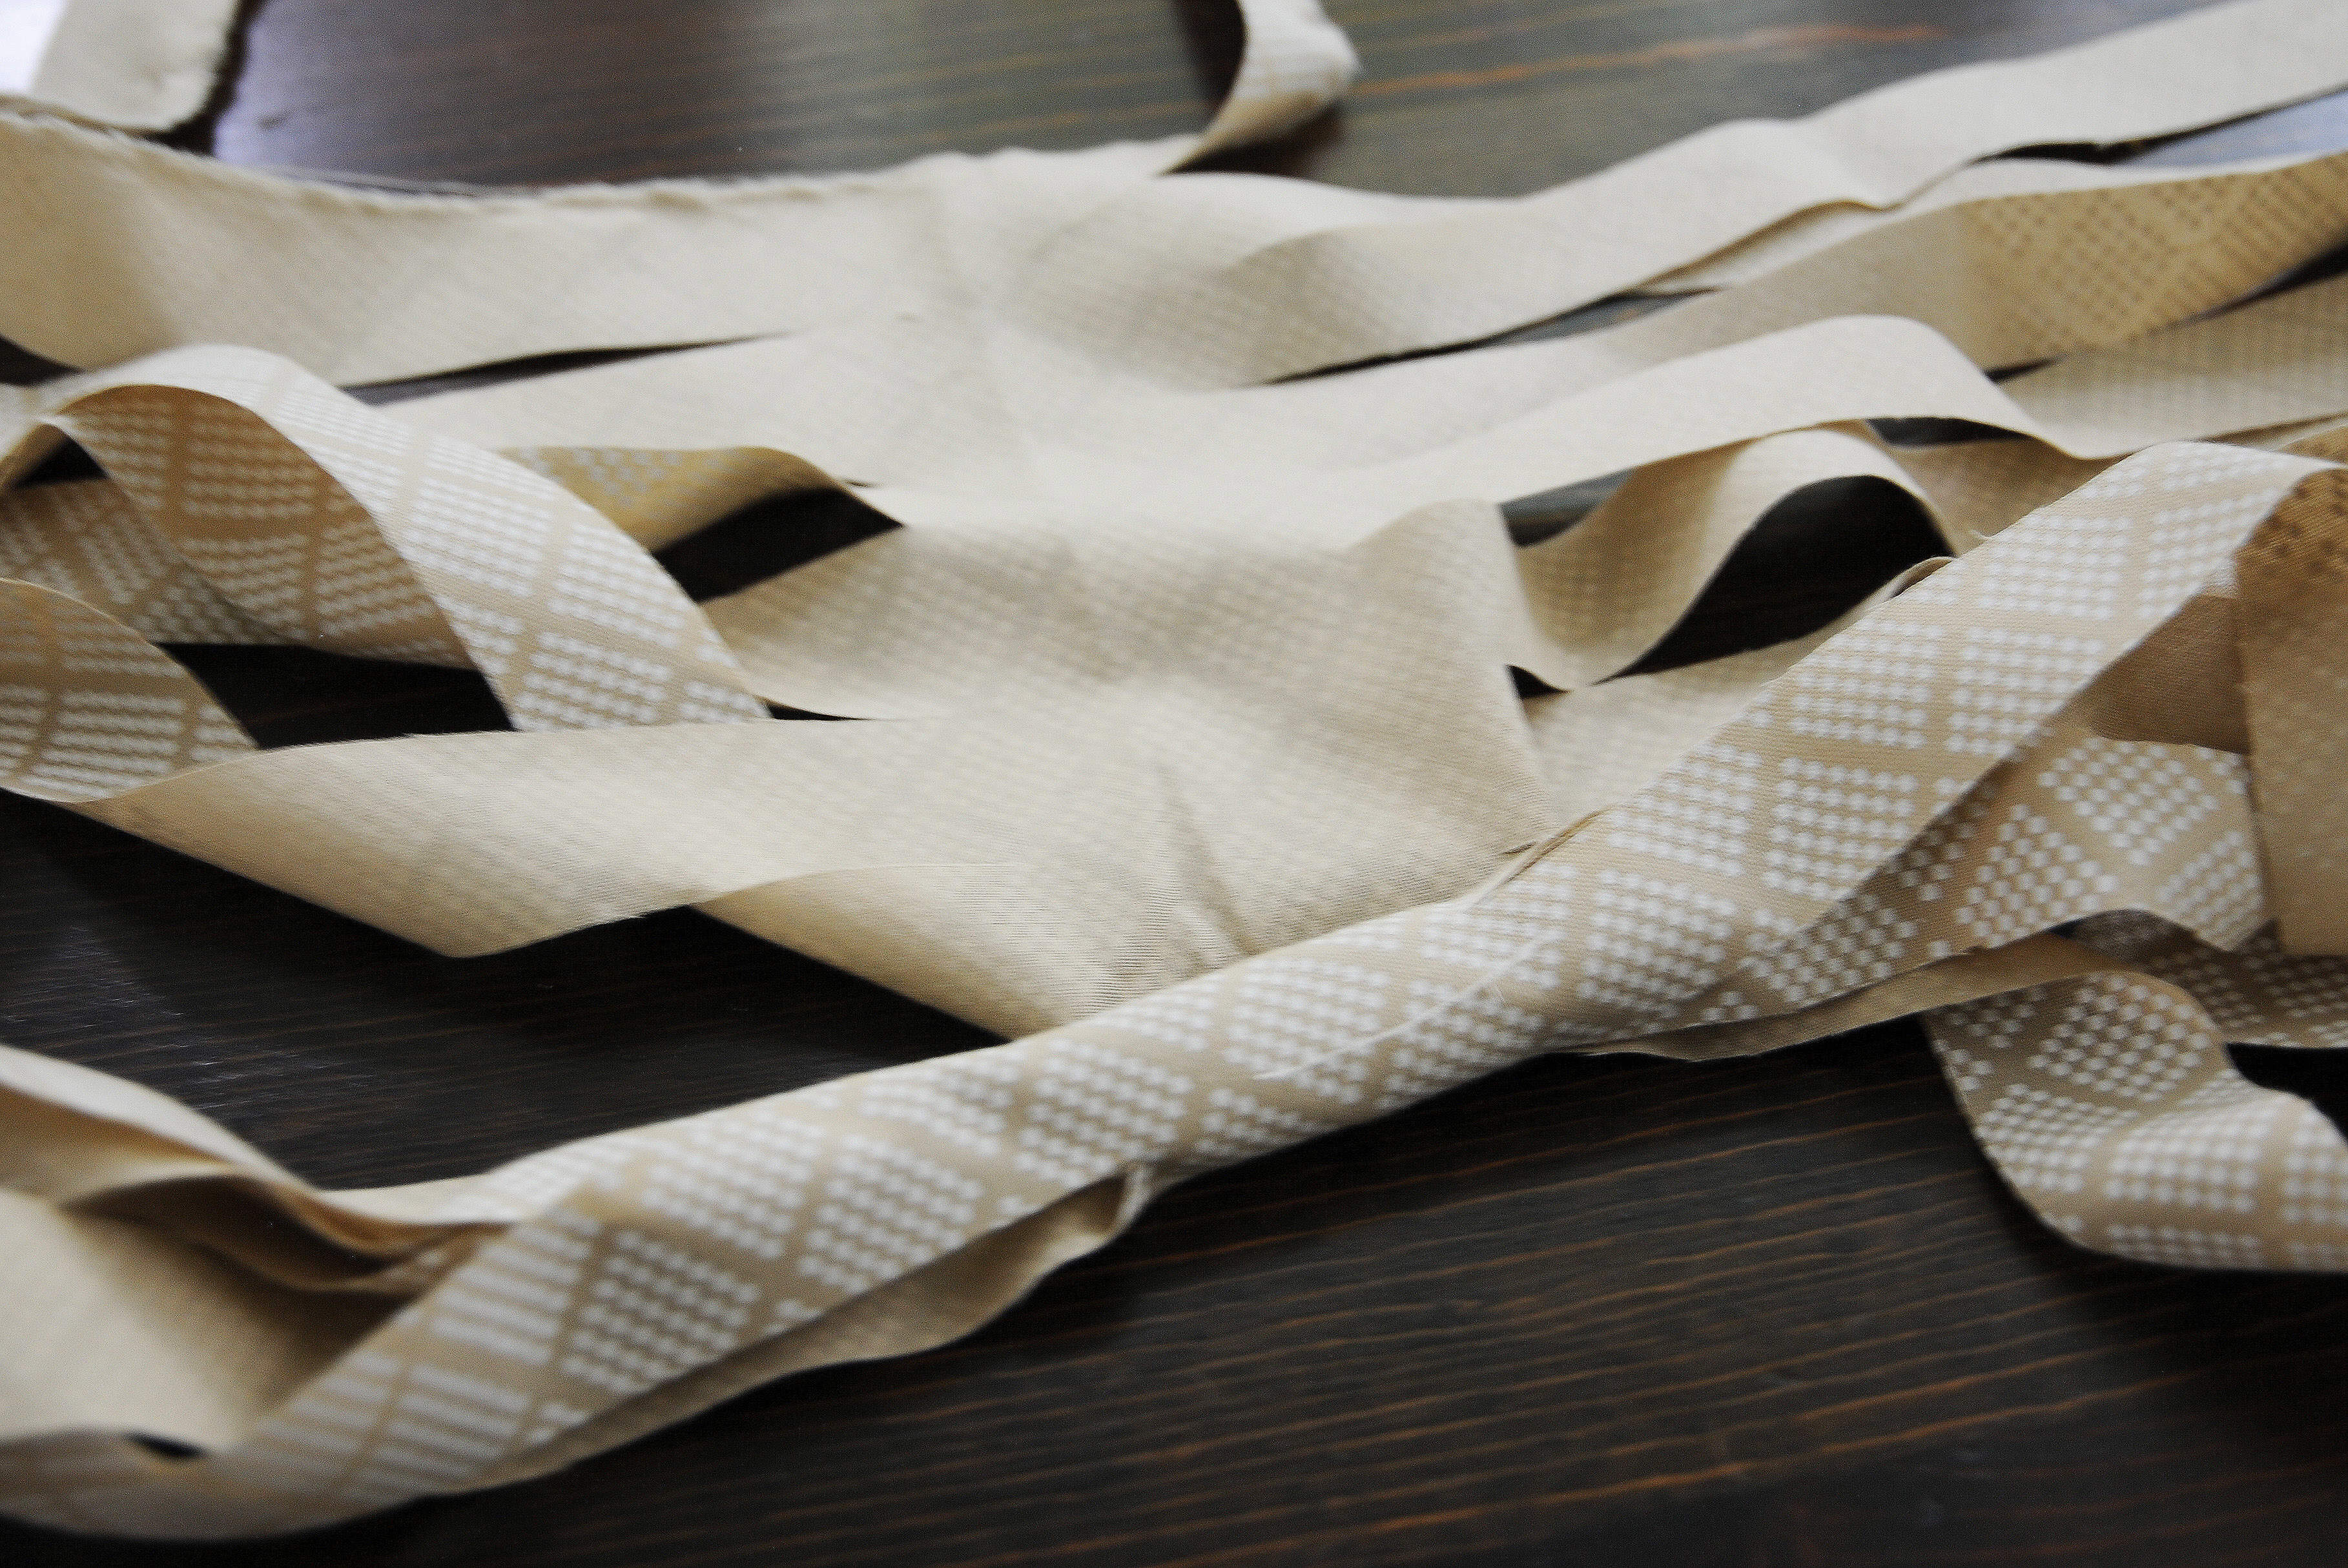
Next, starting from one edge of the fabric, start rolling the fabric. If you have a pattern, make sure the pattern ends up on the outside.
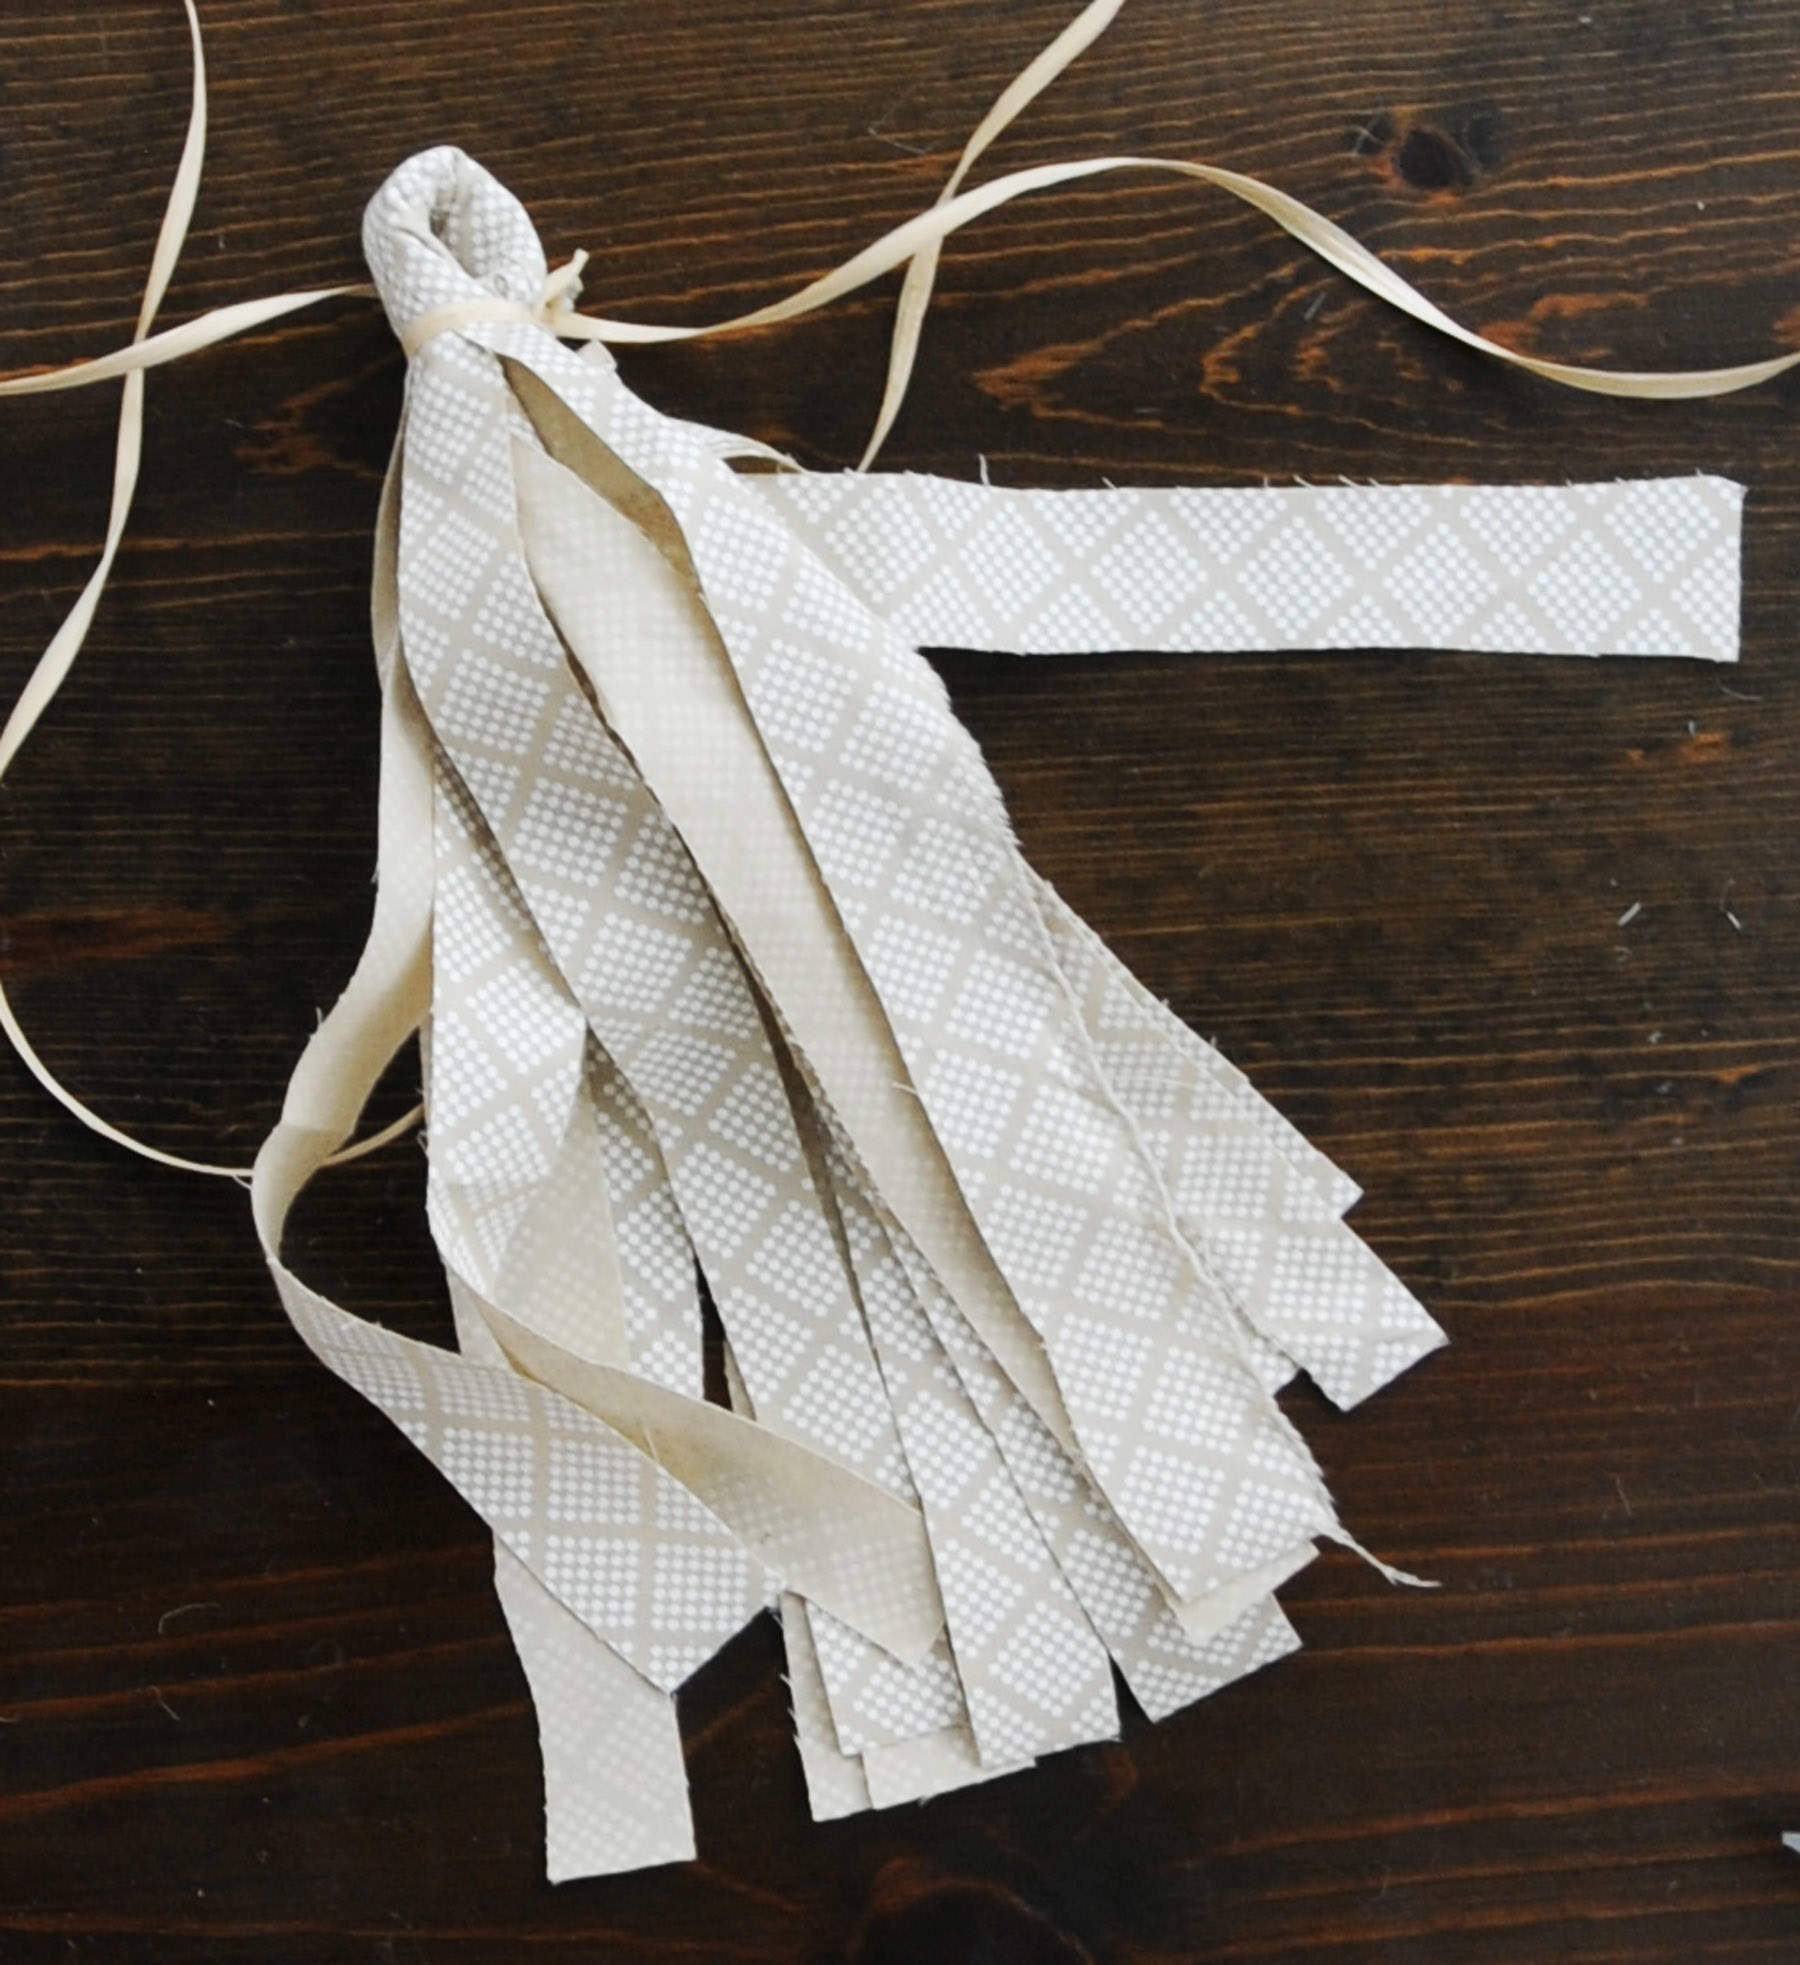
After the fabric is rolled up, fold it in half, and tie the top with a piece of string or twine to hold it in place. Leave a loop at the top big enough to put string through it in order to hang it.
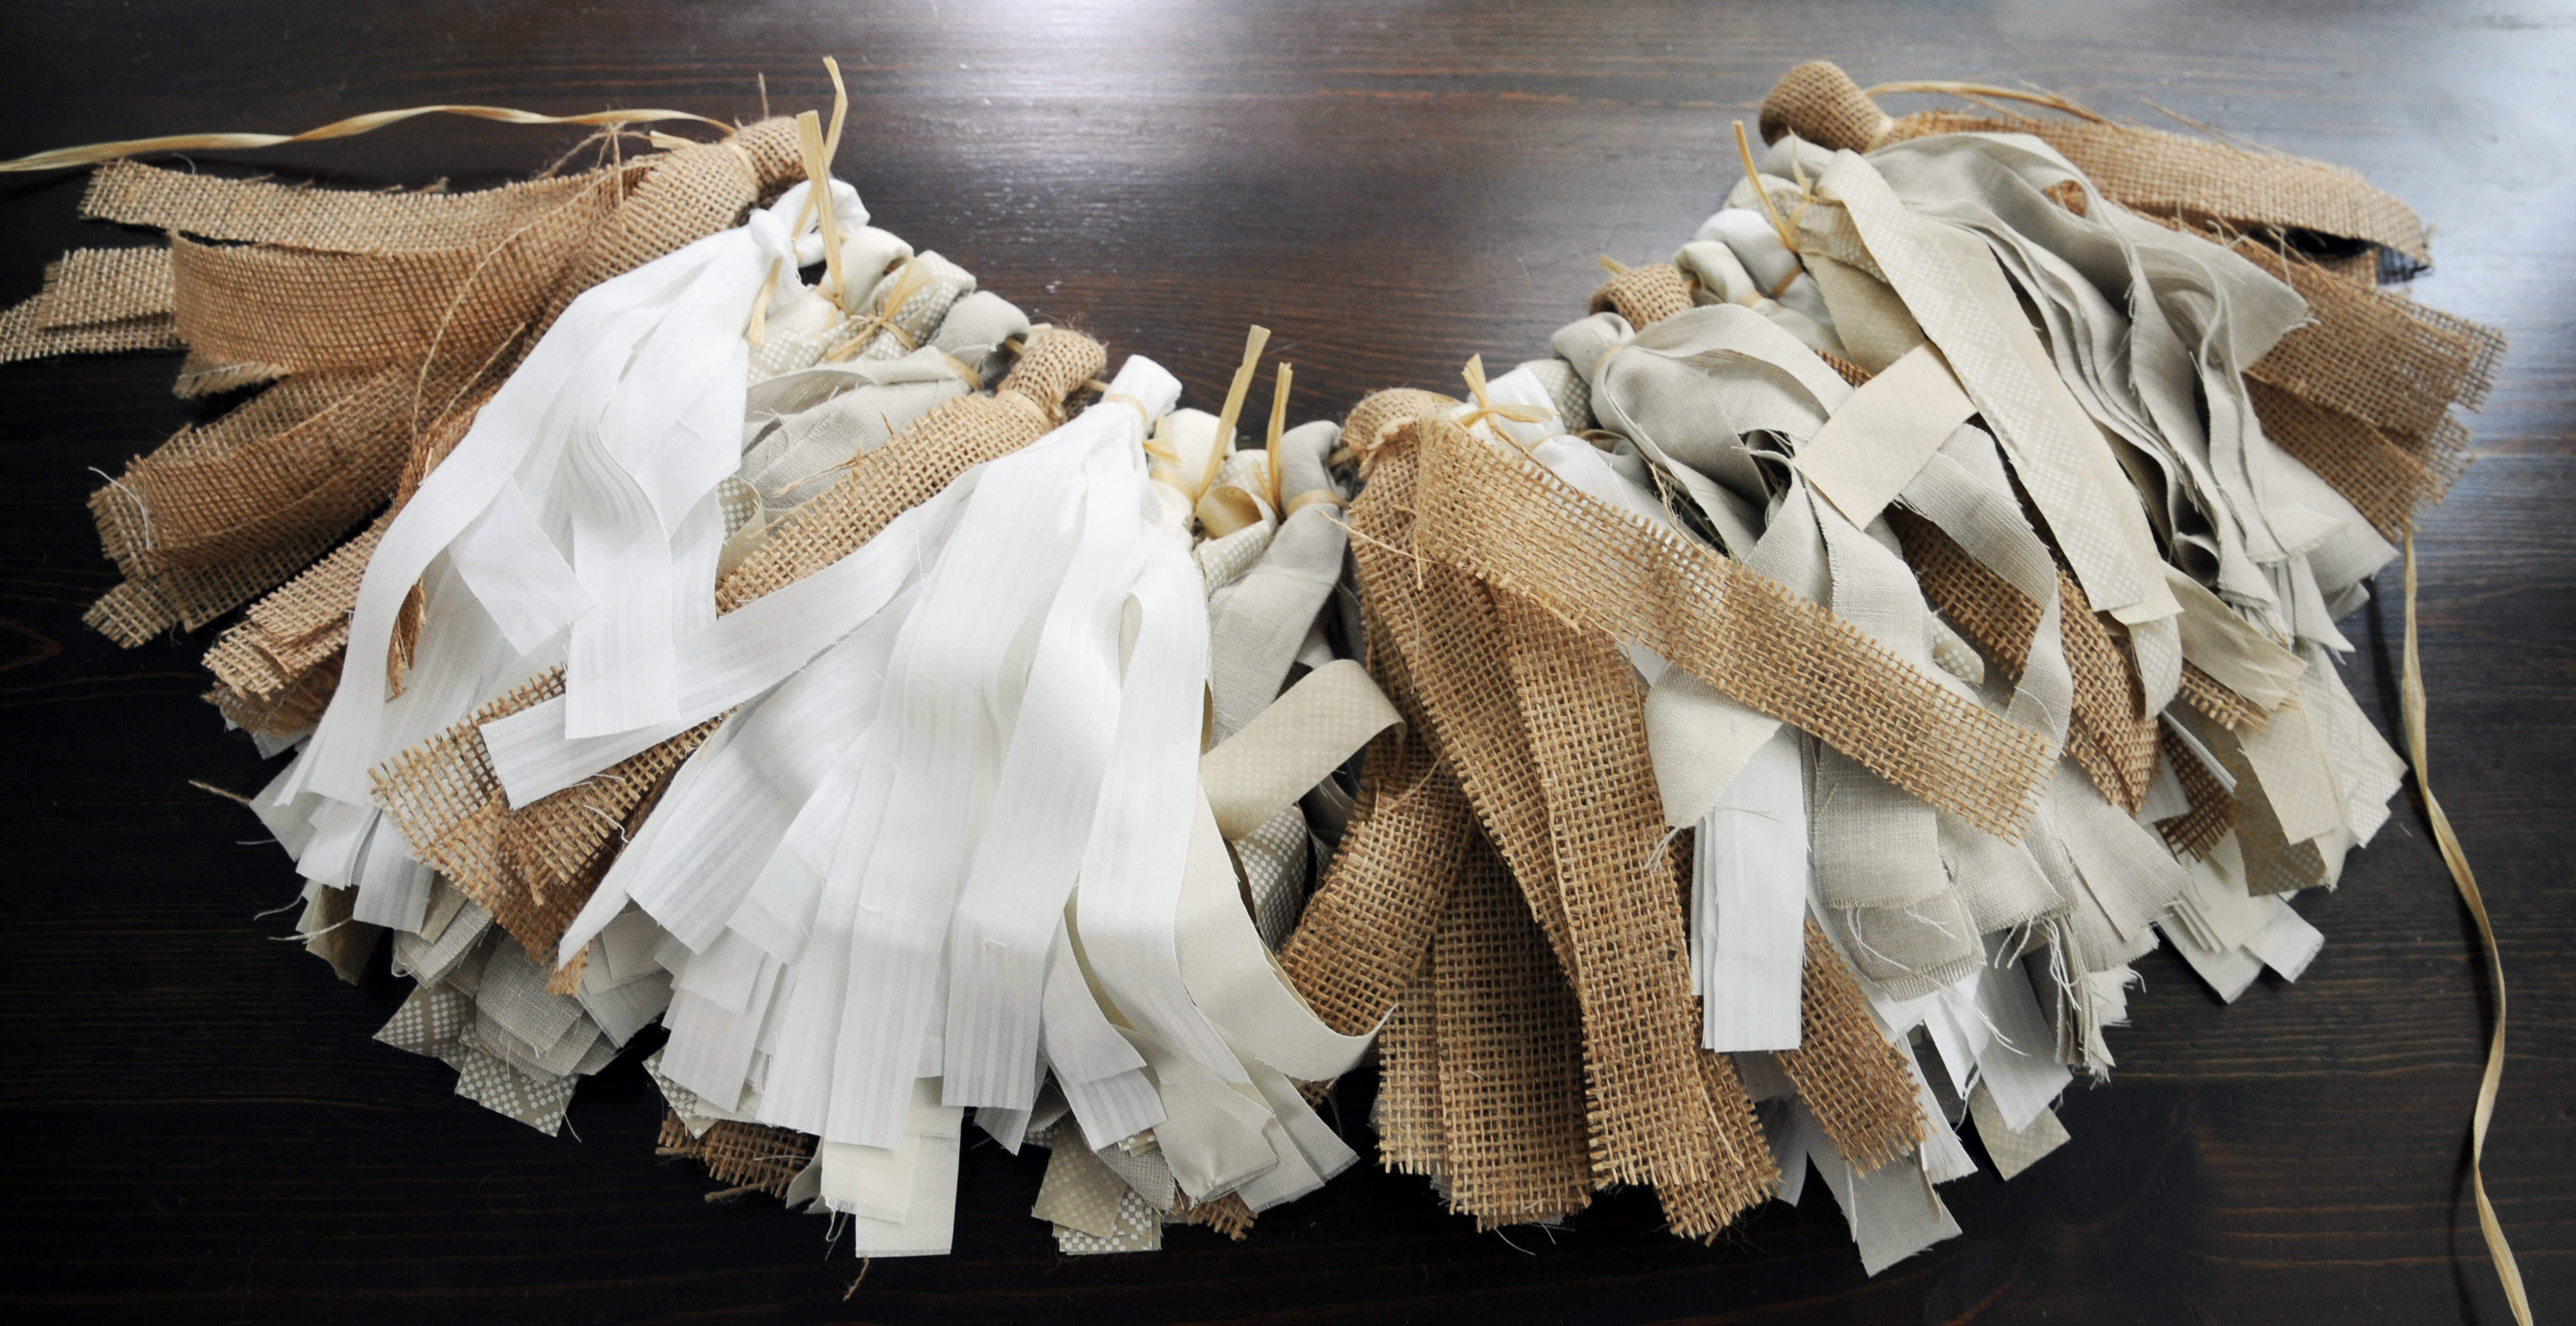
Continue rolling, folding, tying off, and stringing your fabric tassels until they are all finished. As you thread them onto the twine or string, make sure you maintain the fabric sequence, if you planned one.

If you want your fabric tassels spread out from one another when it is hung, use the excess string from tying off the loop of the tassel to tie the tassel to the string it is hung on. I placed about an inch of space between each of my fabric tassels. If you skip this step, you may have to make more tassels to create a full look. They tend to bunch together when the string is hung up.

Here is another recent fabric tassel banner I made for a friend’s bridal shower. Rather than keeping it all neutral, I introduced a dark navy color to match her wedding colors. The fireplace was polished off with tea lights in mason jars and their initials, found for just a few dollars each at Hobby Lobby, painted gold.
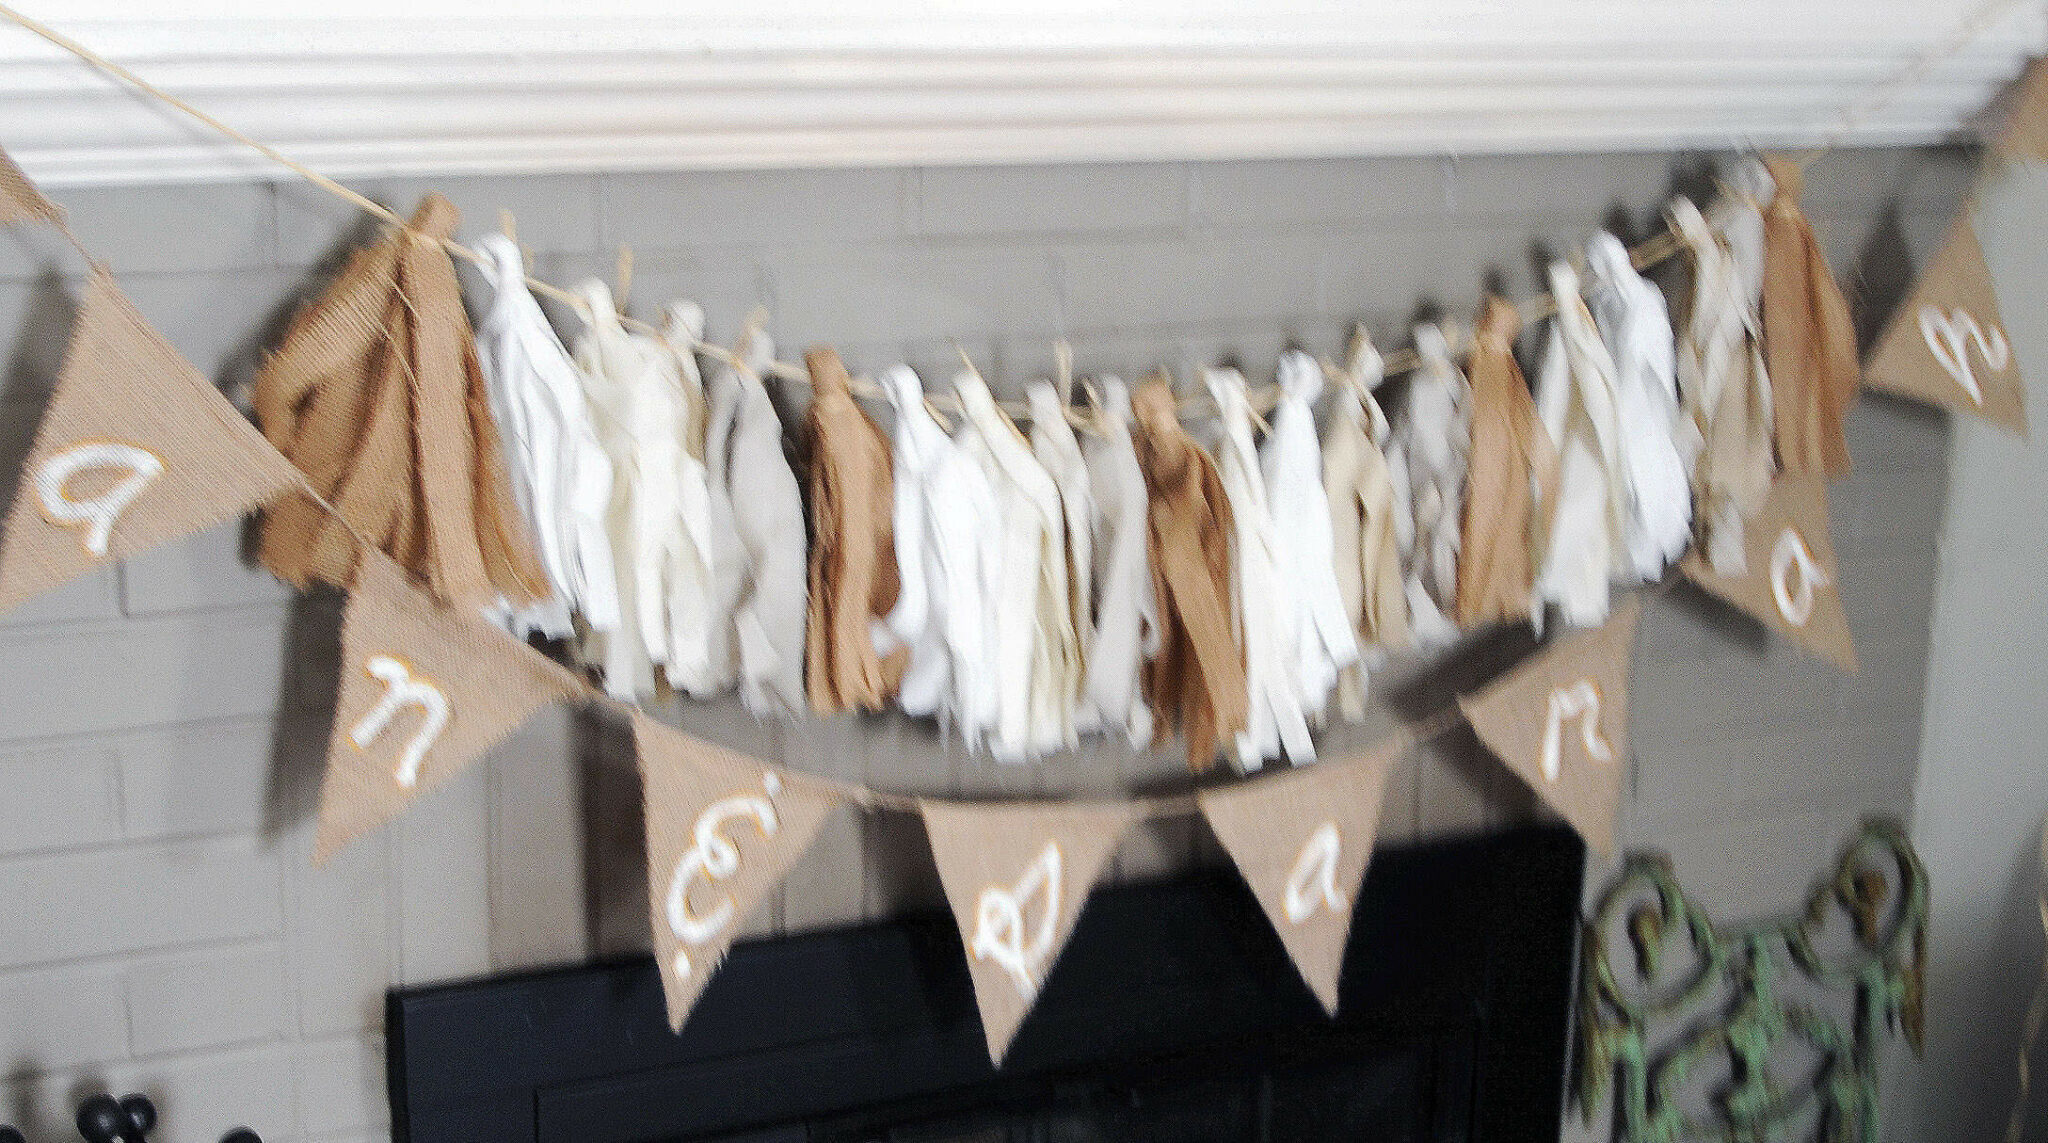
Hang your fabric tassel banner up and enjoy the fruits of your labor! I love the vintage feel it creates. I think it automatically gives any room a sense of festivity after it’s hung.
Thanks for taking the time to check out my craft project and my blog! Help me spread the word by sharing with others and on your social networking site of choice. Subscribe below to get more craft project how-tos straight to your inbox. Check out more blog posts here. Shop my education resources here. Don’t forget to follow me on Instagram and TikTok for weekly visual journal demos. Until next time!
Related Posts


Leave a Reply